- Unboxing Your Camera: The Essential Preliminaries
- Battery and Memory Card Installation
- Initial Power-On Configuration
- Language and Regional Settings
- Formatting Your Memory Card
- Lens Attachment and Optical Considerations
- Essential Camera Settings Configuration
- Image Quality Parameters
- Color Space Selection
- Exposure Mode Familiarization
- Autofocus System Optimization
- White Balance and Color Temperature
- Metering Modes and Exposure Evaluation
- Viewfinder and LCD Screen Configuration
- Capturing Your First Photograph
- Post-Capture Workflow Initiation
- Frequently Asked Questions
- Should I purchase additional batteries immediately?
- How often should memory cards be replaced?
- What accessories should accompany initial camera setup?
Acquiring a new camera represents an exhilarating milestone for any creative professional or enthusiast. Yet the journey from unboxing your pristine equipment to capturing that inaugural flawless photograph requires methodical preparation and technical understanding. This comprehensive camera setup guide demystifies the entire process, ensuring your photographic endeavors commence on solid footing.
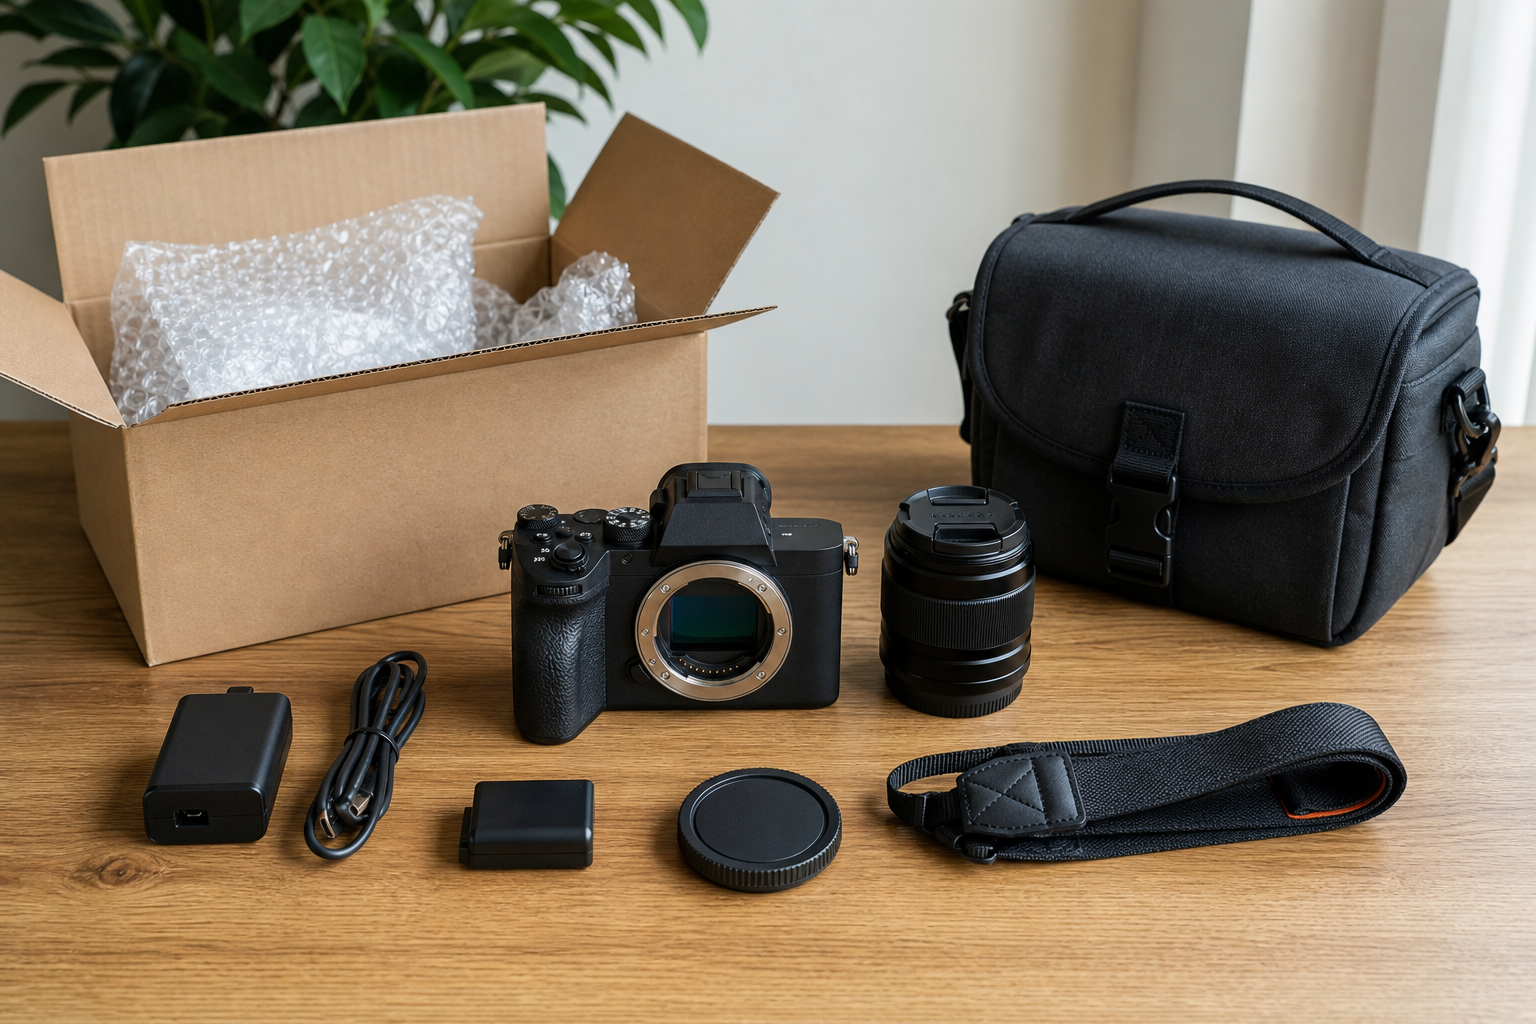
Unboxing Your Camera: The Essential Preliminaries
The unboxing ritual demands more than enthusiastic tearing of packaging materials. Begin by creating a clean, spacious workspace where components won't inadvertently roll away or accumulate dust. Carefully extract each element, cross-referencing against the manufacturer's inclusion manifest to verify completeness.
Examine the camera body for any cosmetic imperfections or transportation damage. Inspect lens mounts for debris or manufacturing residue. Remove all protective films and transit stabilization materials that manufacturers install to safeguard delicate mechanisms during shipment. These transparent coverings often cling to LCD screens and viewfinders.
Organize accessories systematically. Battery chargers, USB cables, lens caps, and documentation should occupy designated locations within your workspace. This organizational approach prevents misplacement and establishes habits that benefit long-term equipment management.
Battery and Memory Card Installation
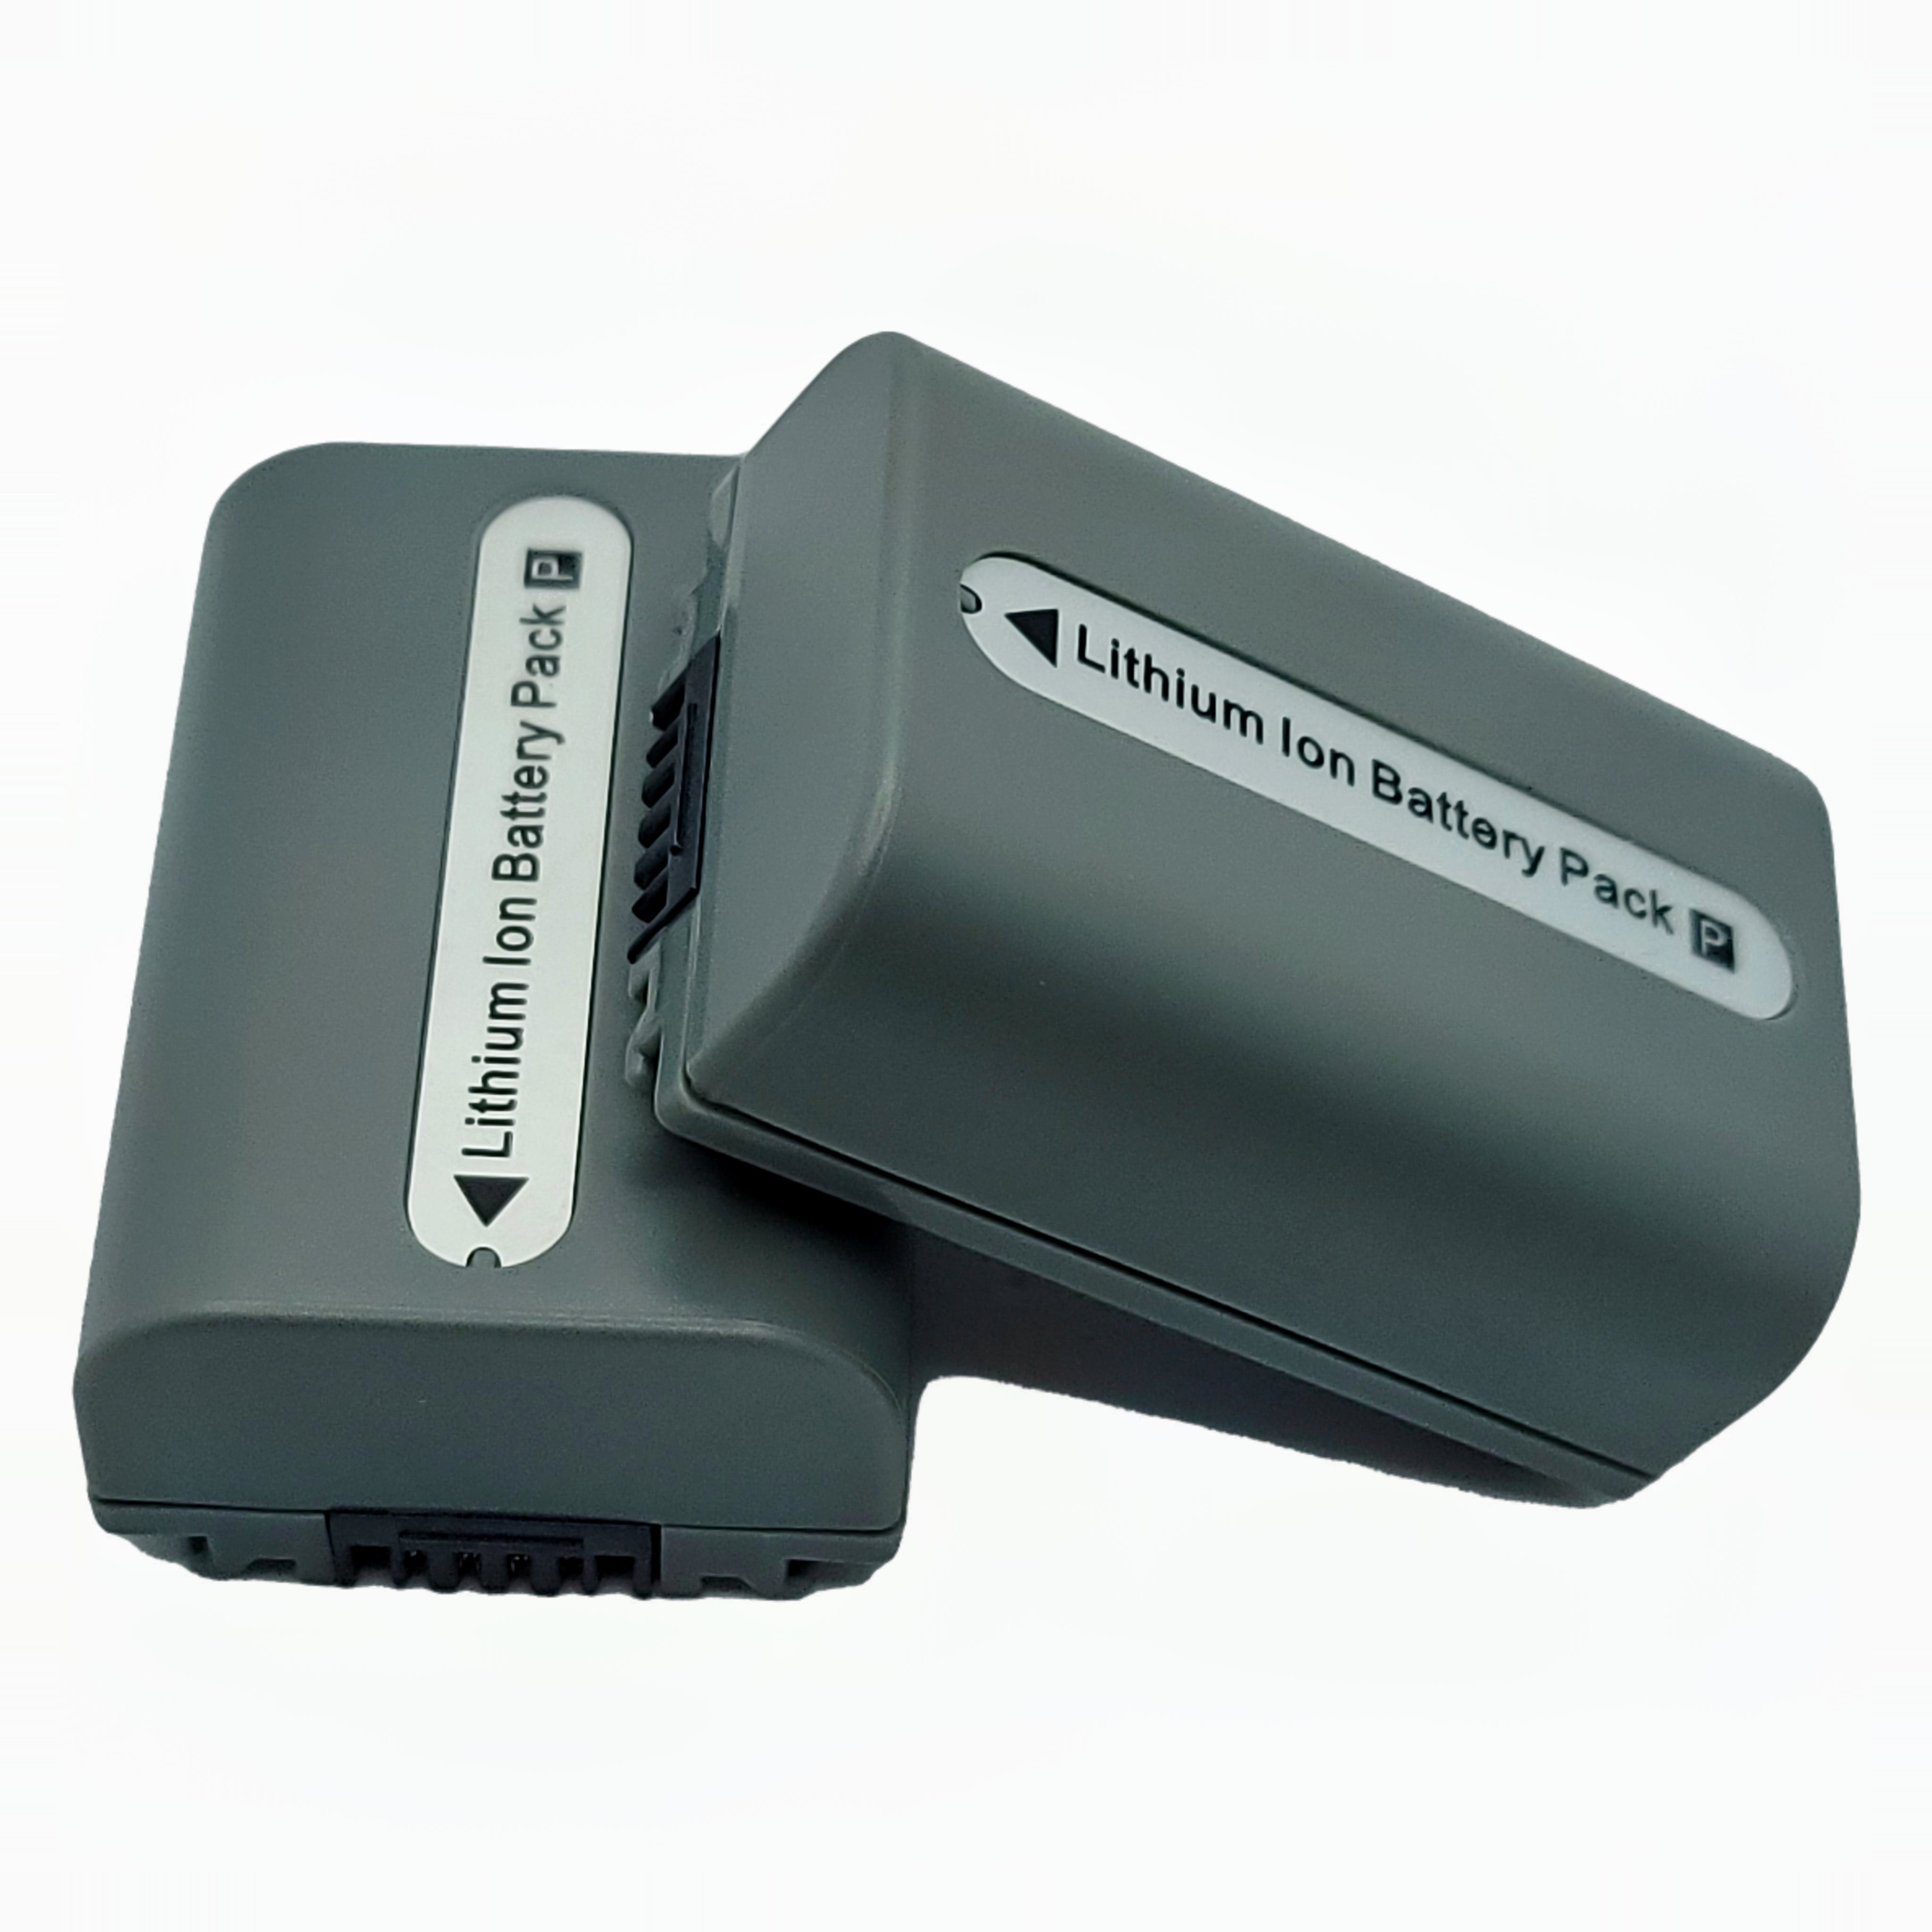
Power initialization constitutes your first technical procedure. Locate the battery compartment, typically secured beneath the camera body via a sliding latch mechanism. Insert the battery according to directional indicators embossed within the chamber. Incorrect orientation prevents proper contact with electrical terminals.
Charge your battery completely before inaugural use. Contemporary lithium-ion cells benefit from full charging cycles, optimizing their longevity and performance characteristics. While waiting, familiarize yourself with the camera's physical ergonomics and control layouts.
Memory card installation follows battery preparation. Access the card slot, usually positioned adjacent to the battery compartment or along the camera's lateral edge. SD cards feature a beveled corner preventing incorrect insertion. Depress the card until it clicks securely into position. Quality memory cards from reputable manufacturers prevent data corruption and enhance write speeds during burst photography or video recording.
Initial Power-On Configuration
Language and Regional Settings
Upon first activation, your camera presents fundamental configuration prompts. Select your preferred language from the available options. Establish timezone and date parameters with precision, as this metadata embeds within image files, facilitating chronological organization during post-production workflows.
Formatting Your Memory Card
Navigate to the setup menu and execute a complete memory card format. This procedure erases pre-existing data while establishing the optimal file structure for your specific camera model. Formatting within the camera proves superior to computer-based formatting, ensuring compatibility with manufacturer specifications.
Always format memory cards in-camera rather than via external devices. This practice prevents file system inconsistencies that may compromise data integrity during critical shooting scenarios.
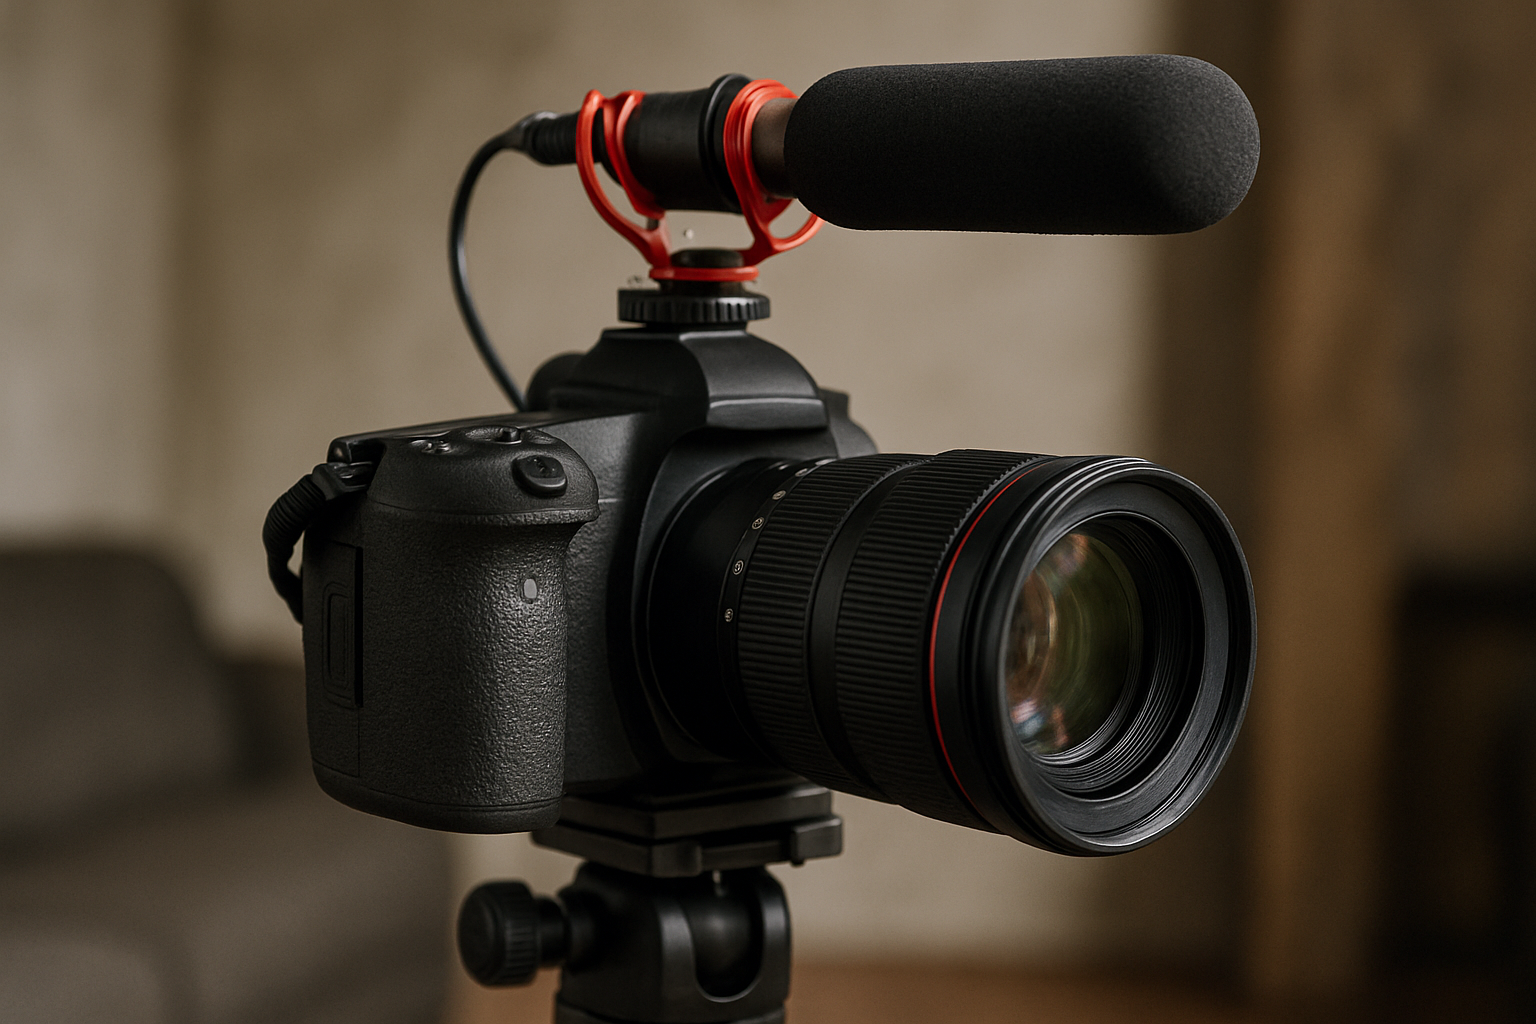
Lens Attachment and Optical Considerations
Mounting your lens demands careful attention to alignment mechanisms. Interchangeable lens systems employ either bayonet or screw-mount designs. For bayonet mounts, align the lens mounting index with the corresponding mark on the camera body. Insert the lens straight into the mount without angling, then rotate clockwise until hearing an audible click signaling secure attachment.
Remove both body and rear lens caps before mounting. Never expose the camera's sensor to ambient environments longer than necessary. Particulate matter gravitates toward sensors, necessitating expensive professional cleaning services.
Inspect the lens for protective switches or locks. Image stabilization toggles, autofocus limiters, and aperture rings require appropriate settings before commencing photography. Verify that protective filters, if installed, remain clean and properly threaded to avoid vignetting or image degradation.
Essential Camera Settings Configuration
Image Quality Parameters
Access your image quality menu to establish file format preferences. RAW formats preserve maximum sensor data, facilitating extensive post-processing latitude. JPEG files consume less storage while applying in-camera processing algorithms. Many photographers adopt RAW+JPEG configurations, capturing both formats simultaneously.
Select resolution settings appropriate for your intended output. Maximum resolution exploits your sensor's complete capability but generates substantial file sizes. Consider your storage capacity and computational resources when determining optimal settings.
Color Space Selection
Color space designation influences chromatic reproduction throughout your workflow. sRGB accommodates web-based distribution and consumer displays. Adobe RGB encompasses broader color gamuts, benefiting commercial printing and professional publication requirements. Select according to your primary distribution channels.
Exposure Mode Familiarization
Modern cameras offer multiple exposure modes catering to varying skill levels and shooting scenarios. Program mode automates both aperture and shutter speed while permitting override adjustments. Aperture priority grants control over depth-of-field characteristics. Shutter priority proves invaluable for freezing or conveying motion. Manual mode delivers complete creative autonomy once fundamental exposure principles become instinctive.
Autofocus System Optimization
Contemporary autofocus systems incorporate sophisticated algorithms and extensive focus point arrays. Single-point AF concentrates focus determination on a specific sensor area, ideal for stationary subjects requiring precision. Zone AF monitors multiple adjacent points, balancing accuracy with subject tracking capabilities. Wide-area AF analyzes the entire frame, suitable for dynamic scenarios where subject positioning fluctuates rapidly.
Continuous autofocus modes track moving subjects, constantly adjusting focus as spatial relationships evolve. Single-shot autofocus locks focus upon half-pressing the shutter button, maintaining that focal plane until exposure completion. Match autofocus modes to subject behavior for optimal sharpness.
White Balance and Color Temperature
White balance calibration ensures accurate color rendition across diverse illumination conditions. Auto white balance performs admirably under standard lighting but occasionally misinterprets mixed light sources or unconventional color temperatures.
Preset white balance options address common scenarios:
- Daylight: Approximately 5500K for midday outdoor photography
- Cloudy: Compensates for cooler color casts under overcast skies
- Tungsten: Neutralizes warm incandescent lighting
- Fluorescent: Addresses greenish color shifts from commercial lighting
- Flash: Balances the cooler temperatures of electronic flash units
Custom white balance settings enable precise calibration using neutral reference cards under ambient lighting conditions. This technique proves indispensable for professional work requiring color accuracy.
Metering Modes and Exposure Evaluation
Your camera's metering system analyzes scene luminance to calculate appropriate exposure parameters. Evaluative or matrix metering segments the frame into multiple zones, averaging brightness values while prioritizing focus point areas. This versatile mode handles most photographic situations competently.
Center-weighted metering concentrates measurement on the frame's central portion, gradually diminishing peripheral influence. Spot metering evaluates an extremely confined area, typically two to three percent of the frame, enabling precise exposure control for high-contrast scenarios.
| Metering Mode | Best Application | Coverage Area |
|---|---|---|
| Evaluative/Matrix | General photography | Entire frame |
| Center-Weighted | Portraits | 60-80% center |
| Spot | High contrast scenes | 2-3% center |
Viewfinder and LCD Screen Configuration
Diopter adjustment compensates for individual eyesight variations, ensuring crisp viewfinder imagery without corrective eyewear. Locate the diopter adjustment dial adjacent to the viewfinder eyepiece. While observing through the viewfinder, rotate the dial until focus indicators and information displays appear sharp.
Configure LCD brightness to match ambient conditions. Excessively bright screens deplete battery reserves while potentially misrepresenting actual exposure values. Moderately luminous displays balance visibility with power conservation.
Capturing Your First Photograph
With foundational configuration complete, position yourself before an appealing subject. Natural window light illuminating a stationary object provides forgiving conditions for inaugural attempts. Select aperture priority mode, establishing a moderate aperture value around f/5.6.
Frame your composition thoughtfully, applying rule-of-thirds principles. Position your primary subject along intersecting gridlines rather than dead center. Half-press the shutter button, allowing autofocus confirmation through viewfinder indicators or audible beeps. Depress the shutter fully with gentle, deliberate pressure avoiding camera shake.
Review your captured image on the LCD screen. Examine the histogram to verify balanced exposure without clipped highlights or blocked shadows. Magnify the preview to assess sharpness at critical focus points. Adjust exposure compensation, ISO sensitivity, or aperture settings based on your evaluation, then capture additional frames incorporating refinements.
Post-Capture Workflow Initiation
Transfer images to your computer via USB cable or dedicated card reader. Card readers frequently provide faster transfer velocities and prevent battery depletion during extended file transfers. Establish organized folder structures reflecting shooting dates or project designations.
Backup procedures commence immediately upon transfer completion. Redundant storage across multiple physical locations safeguards against catastrophic data loss. Cloud storage services, external hard drives, and network-attached storage systems provide tiered protection strategies.
Frequently Asked Questions
Should I purchase additional batteries immediately?
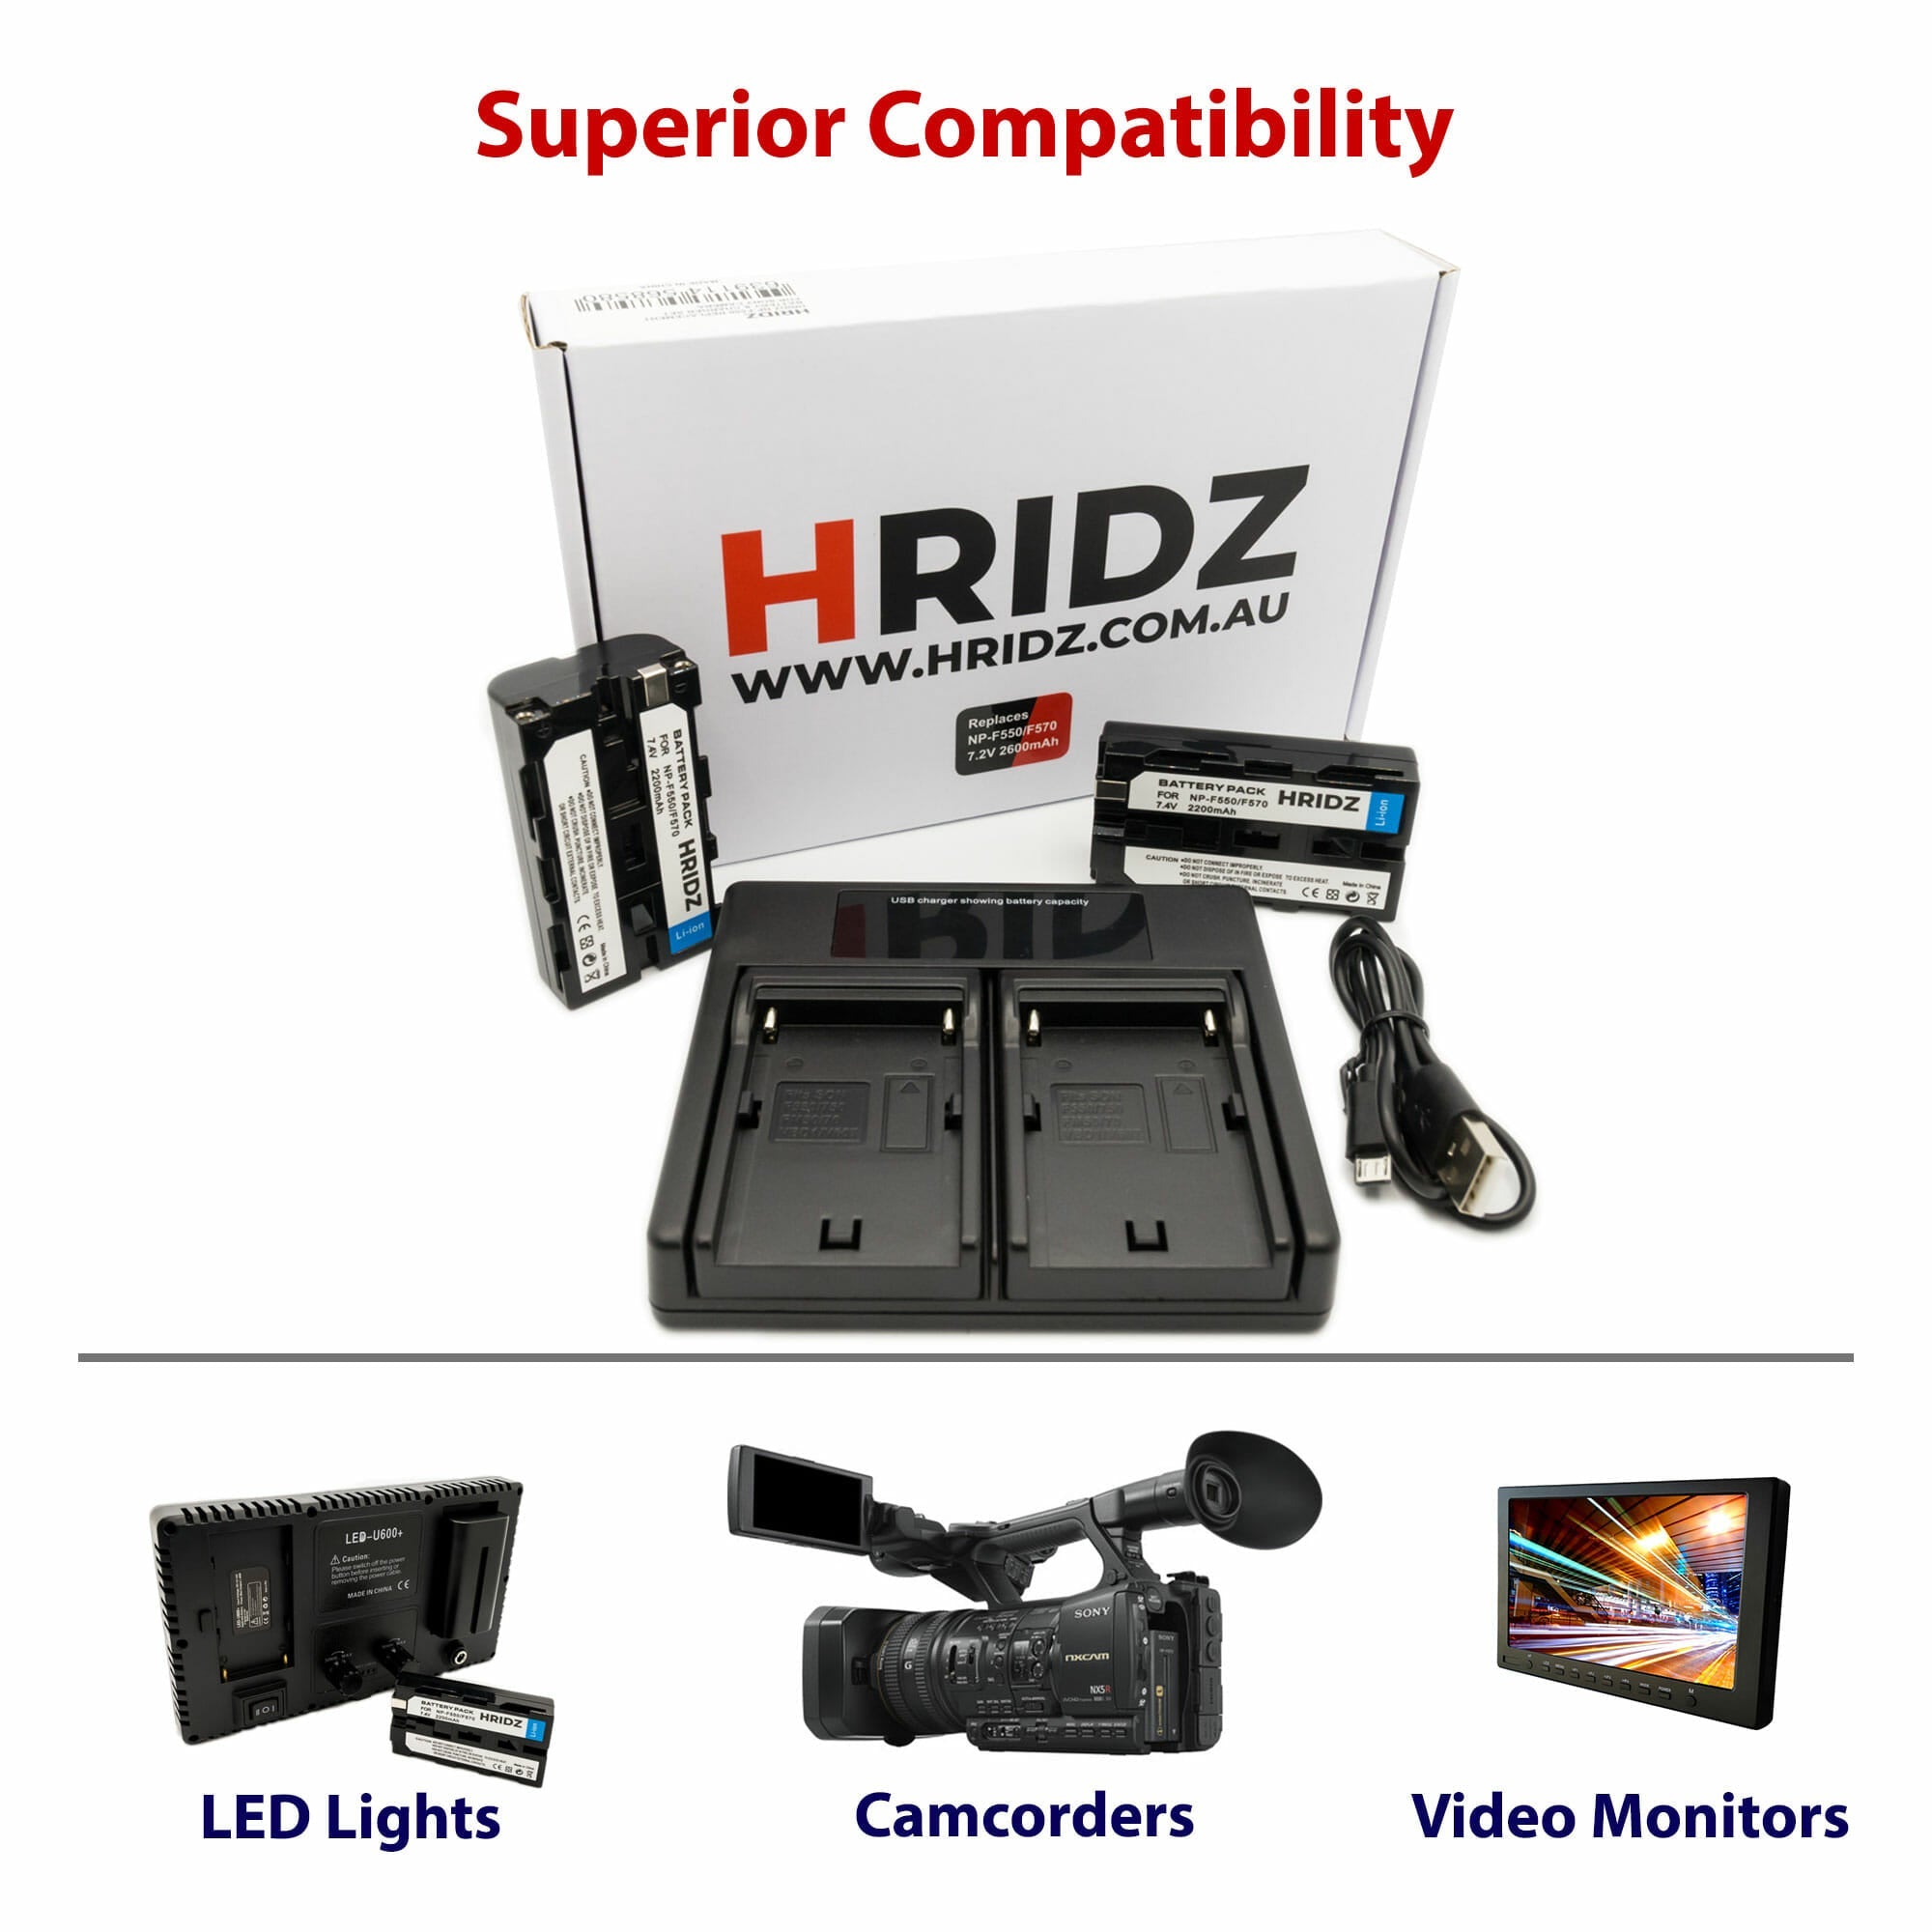
Procuring spare batteries proves judicious for extended shooting sessions or travel scenarios where charging opportunities diminish. Quality aftermarket alternatives from Hridz.com.au deliver reliable performance at accessible price points, ensuring uninterrupted creative workflows without manufacturer-premium costs.
How often should memory cards be replaced?
Memory cards endure finite write cycles before degradation manifests. Professional photographers typically rotate cards annually under heavy usage. Monitor for corruption warnings, reduced write speeds, or unexplained errors signaling replacement necessity.
What accessories should accompany initial camera setup?
Beyond fundamental components, consider acquiring cleaning implements, protective camera bags, and versatile lighting solutions. Softboxes and video lights from specialized retailers like Hridz.com.au elevate image quality dramatically, particularly for videographers and content creators working across varied environments.
Your photographic journey unfolds from this carefully orchestrated foundation. Technical proficiency develops through persistent practice and experimental exploration. Each captured frame contributes to evolving understanding, transforming mechanical button presses into intentional artistic expression.


Share:
NP-F Battery Complete Guide: Power Solutions for Video Lights
Flash Sales Photography Gear: Limited Time Deals You Can't Miss