- Understanding the Fundamental Properties of Light
- Harnessing Natural Light Effectively
- The Golden Hour Advantage
- Overcast Conditions as Natural Softboxes
- Window Light Techniques
- Mastering Artificial Lighting Systems
- Continuous Versus Flash Illumination
- Light Modification Tools
- Multi-Light Setups and Ratios
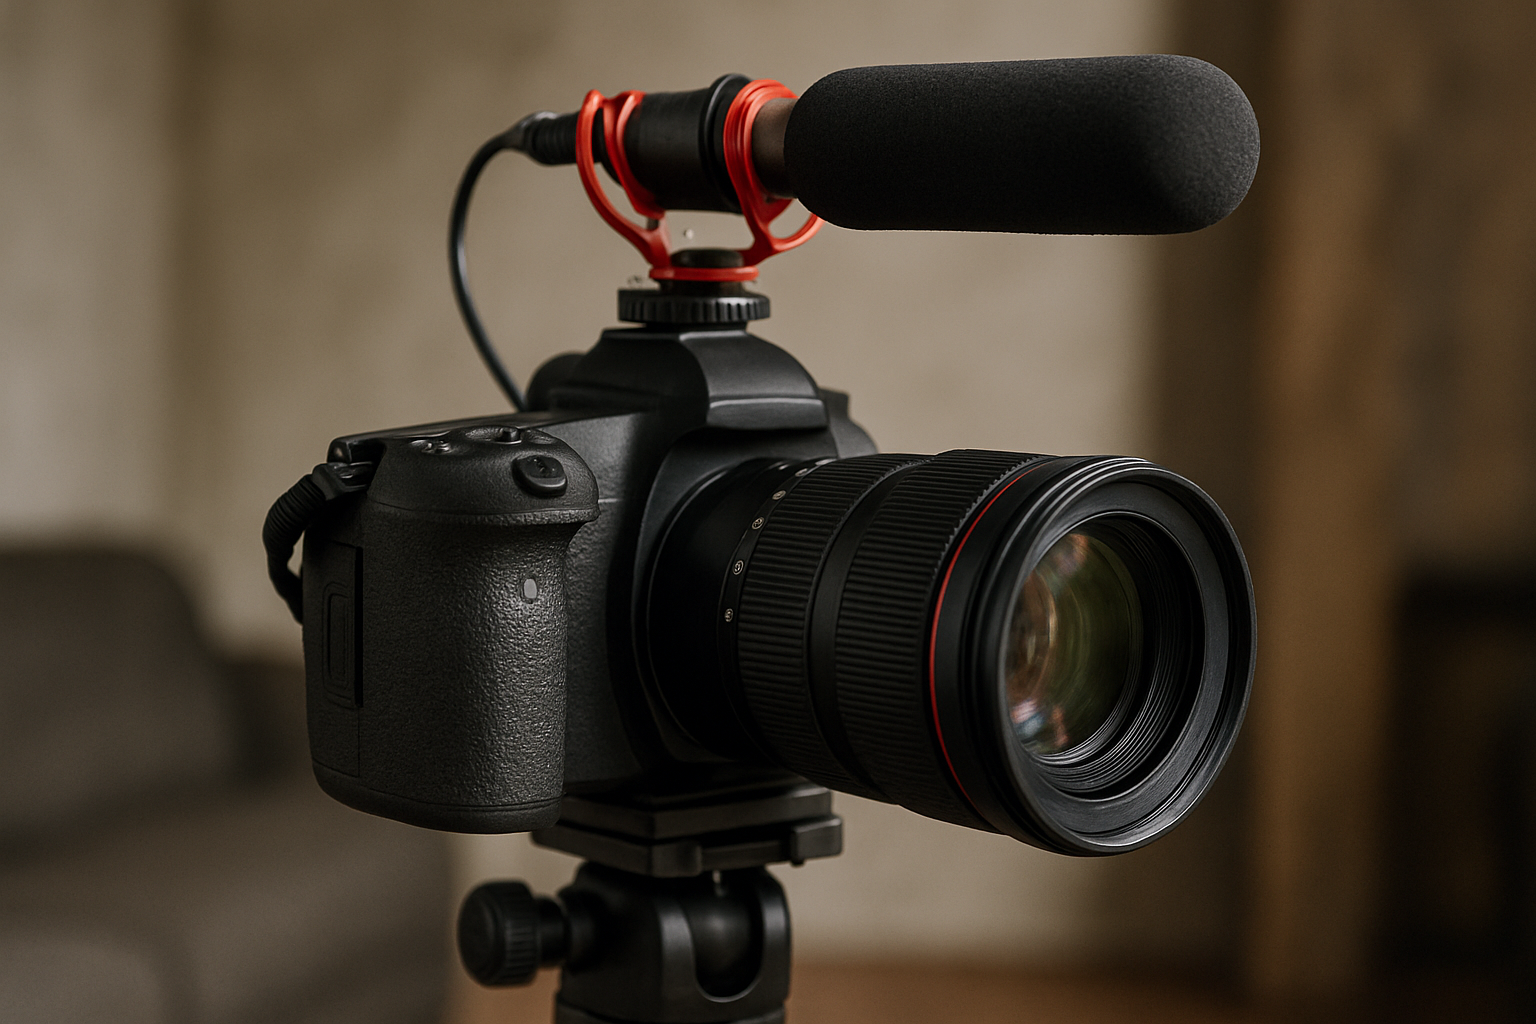
- Essential Equipment Considerations
- Practical Lighting Scenarios
- Portrait Illumination Strategies
- Product Photography Lighting
- Common Lighting Challenges and Solutions
- Developing Your Lighting Intuition
- Frequently Asked Questions
- What lighting equipment should beginners prioritize?
- How does aperture affect lighting in photography?
- Can smartphone photographers benefit from external lighting?
- Advancing Beyond Basics
Mastering the interplay between luminosity and shadow transforms ordinary captures into extraordinary visual narratives. Whether you're wielding a professional DSLR or experimenting with smartphone photography, comprehending the foundational principles of illumination elevates your craft from amateur snapshots to professional-grade imagery. This comprehensive exploration delves into both naturally-sourced and artificially-generated light, equipping you with the knowledge to manipulate photons for stunning results.
Understanding the Fundamental Properties of Light
Light possesses distinctive characteristics that profoundly influence photographic outcomes. The three cardinal properties—quality, direction, and color temperature—constitute the bedrock of effective illumination strategy.
Quality refers to the hardness or softness of light. Hard illumination creates sharp, defined shadows with stark contrast, typically emanating from compact, intense sources like midday sun or bare bulbs. Conversely, soft light produces gradual transitions between highlights and shadows, achieved through diffusion or expansive light sources such as overcast skies or softboxes. Understanding this dichotomy allows photographers to sculpt mood and dimension deliberately.
Directional flow determines where shadows fall and how textures reveal themselves. Front lighting flattens subjects, eliminating dimensionality. Side lighting accentuates texture and form through pronounced shadows. Backlighting creates silhouettes or ethereal rim lighting effects. Top lighting can introduce unflattering shadows beneath facial features, while bottom lighting produces dramatic, unconventional aesthetics.
Color temperature, measured in Kelvin, ranges from warm amber tones to cool blue hues. Golden hour sunlight hovers around 3000K, while overcast conditions approach 7000K. Mismatched color temperatures between ambient and artificial sources create discordant color casts that undermine image cohesion.
Harnessing Natural Light Effectively
The Golden Hour Advantage
The period shortly after sunrise and before sunset offers unparalleled photographic opportunities. During these ephemeral windows, sunlight travels through increased atmospheric distance, scattering shorter wavelengths and bathing scenes in warm, flattering tones. The low sun angle creates elongated shadows that add depth and interest to compositions.
Position subjects with the sun at forty-five degrees to achieve balanced illumination that reveals form without harsh shadows. Alternatively, backlighting during golden hour produces luminous rim lighting and lens flare that imparts dreamlike quality to portraits.
Overcast Conditions as Natural Softboxes
Cloud cover functions as nature's diffusion panel, transforming harsh sunlight into evenly-distributed illumination. This scenario eliminates squinting subjects and blown-out highlights, making it ideal for portraiture and macro photography. The absence of directional shadows permits flexibility in positioning without concern for unflattering light angles.
However, overcast light can appear flat and uninspiring. Introducing reflectors or subtle fill light adds dimensionality that prevents images from appearing lifeless.
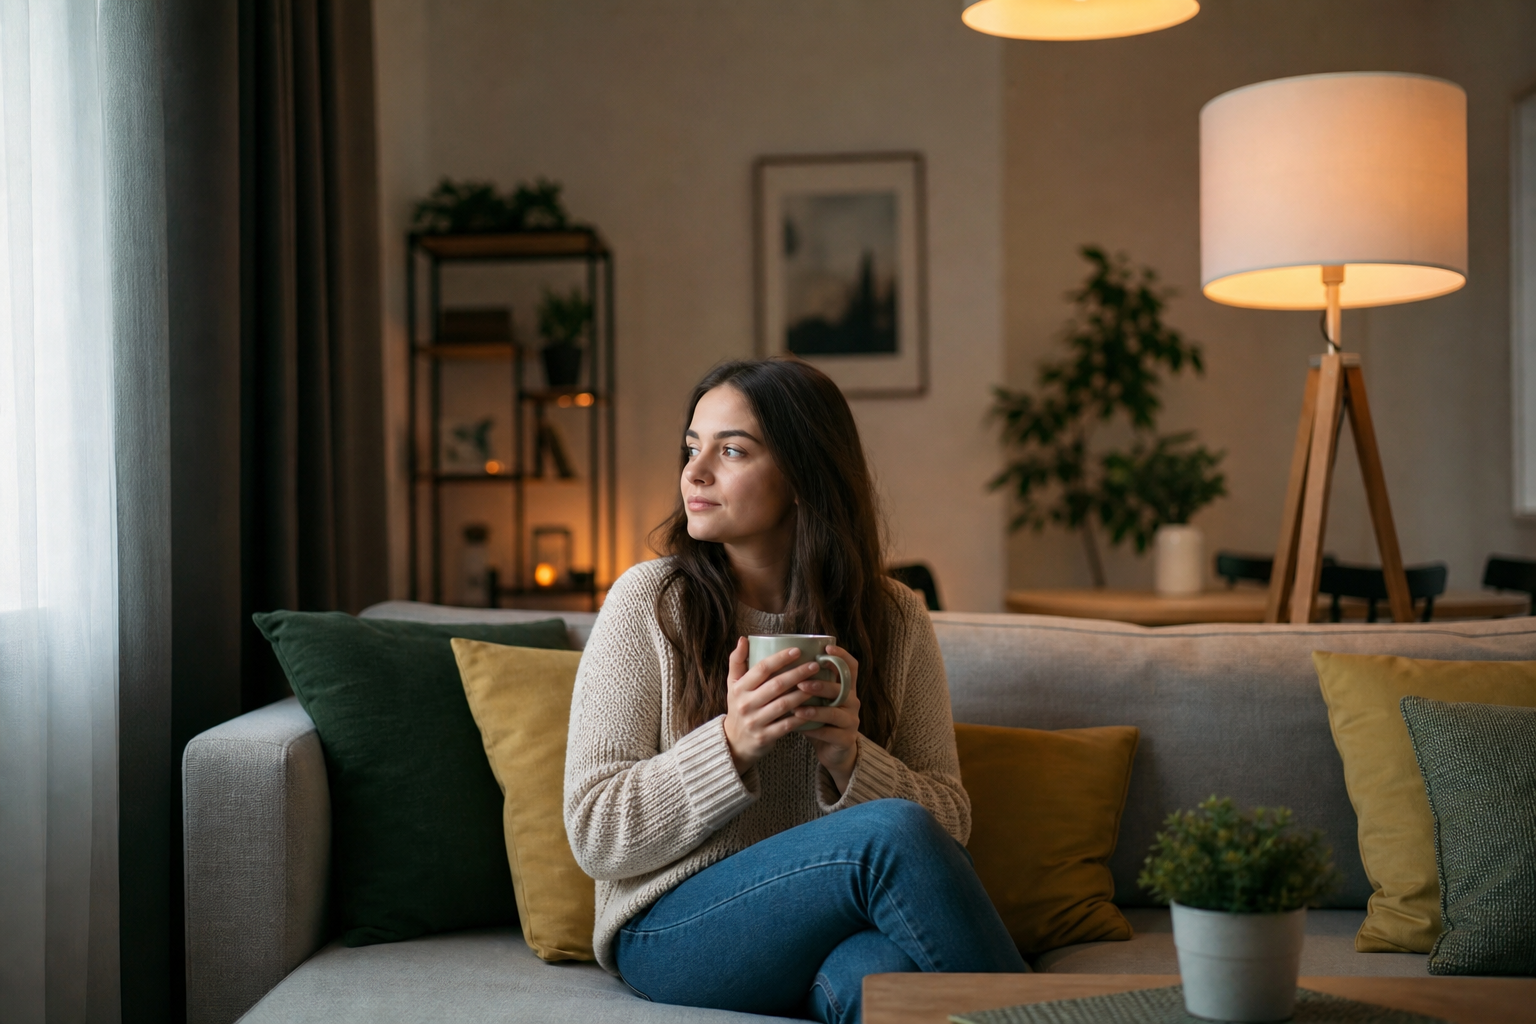
Window Light Techniques
Interior window illumination provides controllable, directional soft light excellent for product photography, still life, and portraits. Position subjects perpendicular to windows for classic Rembrandt lighting patterns, or face them directly toward the window for broad, even coverage.
Manipulate window light intensity using sheer curtains as diffusers or blackout materials to block unwanted spill. Reflectors opposite the window bounce light into shadow areas, reducing contrast ratios for more balanced exposures.
Mastering Artificial Lighting Systems
Continuous Versus Flash Illumination
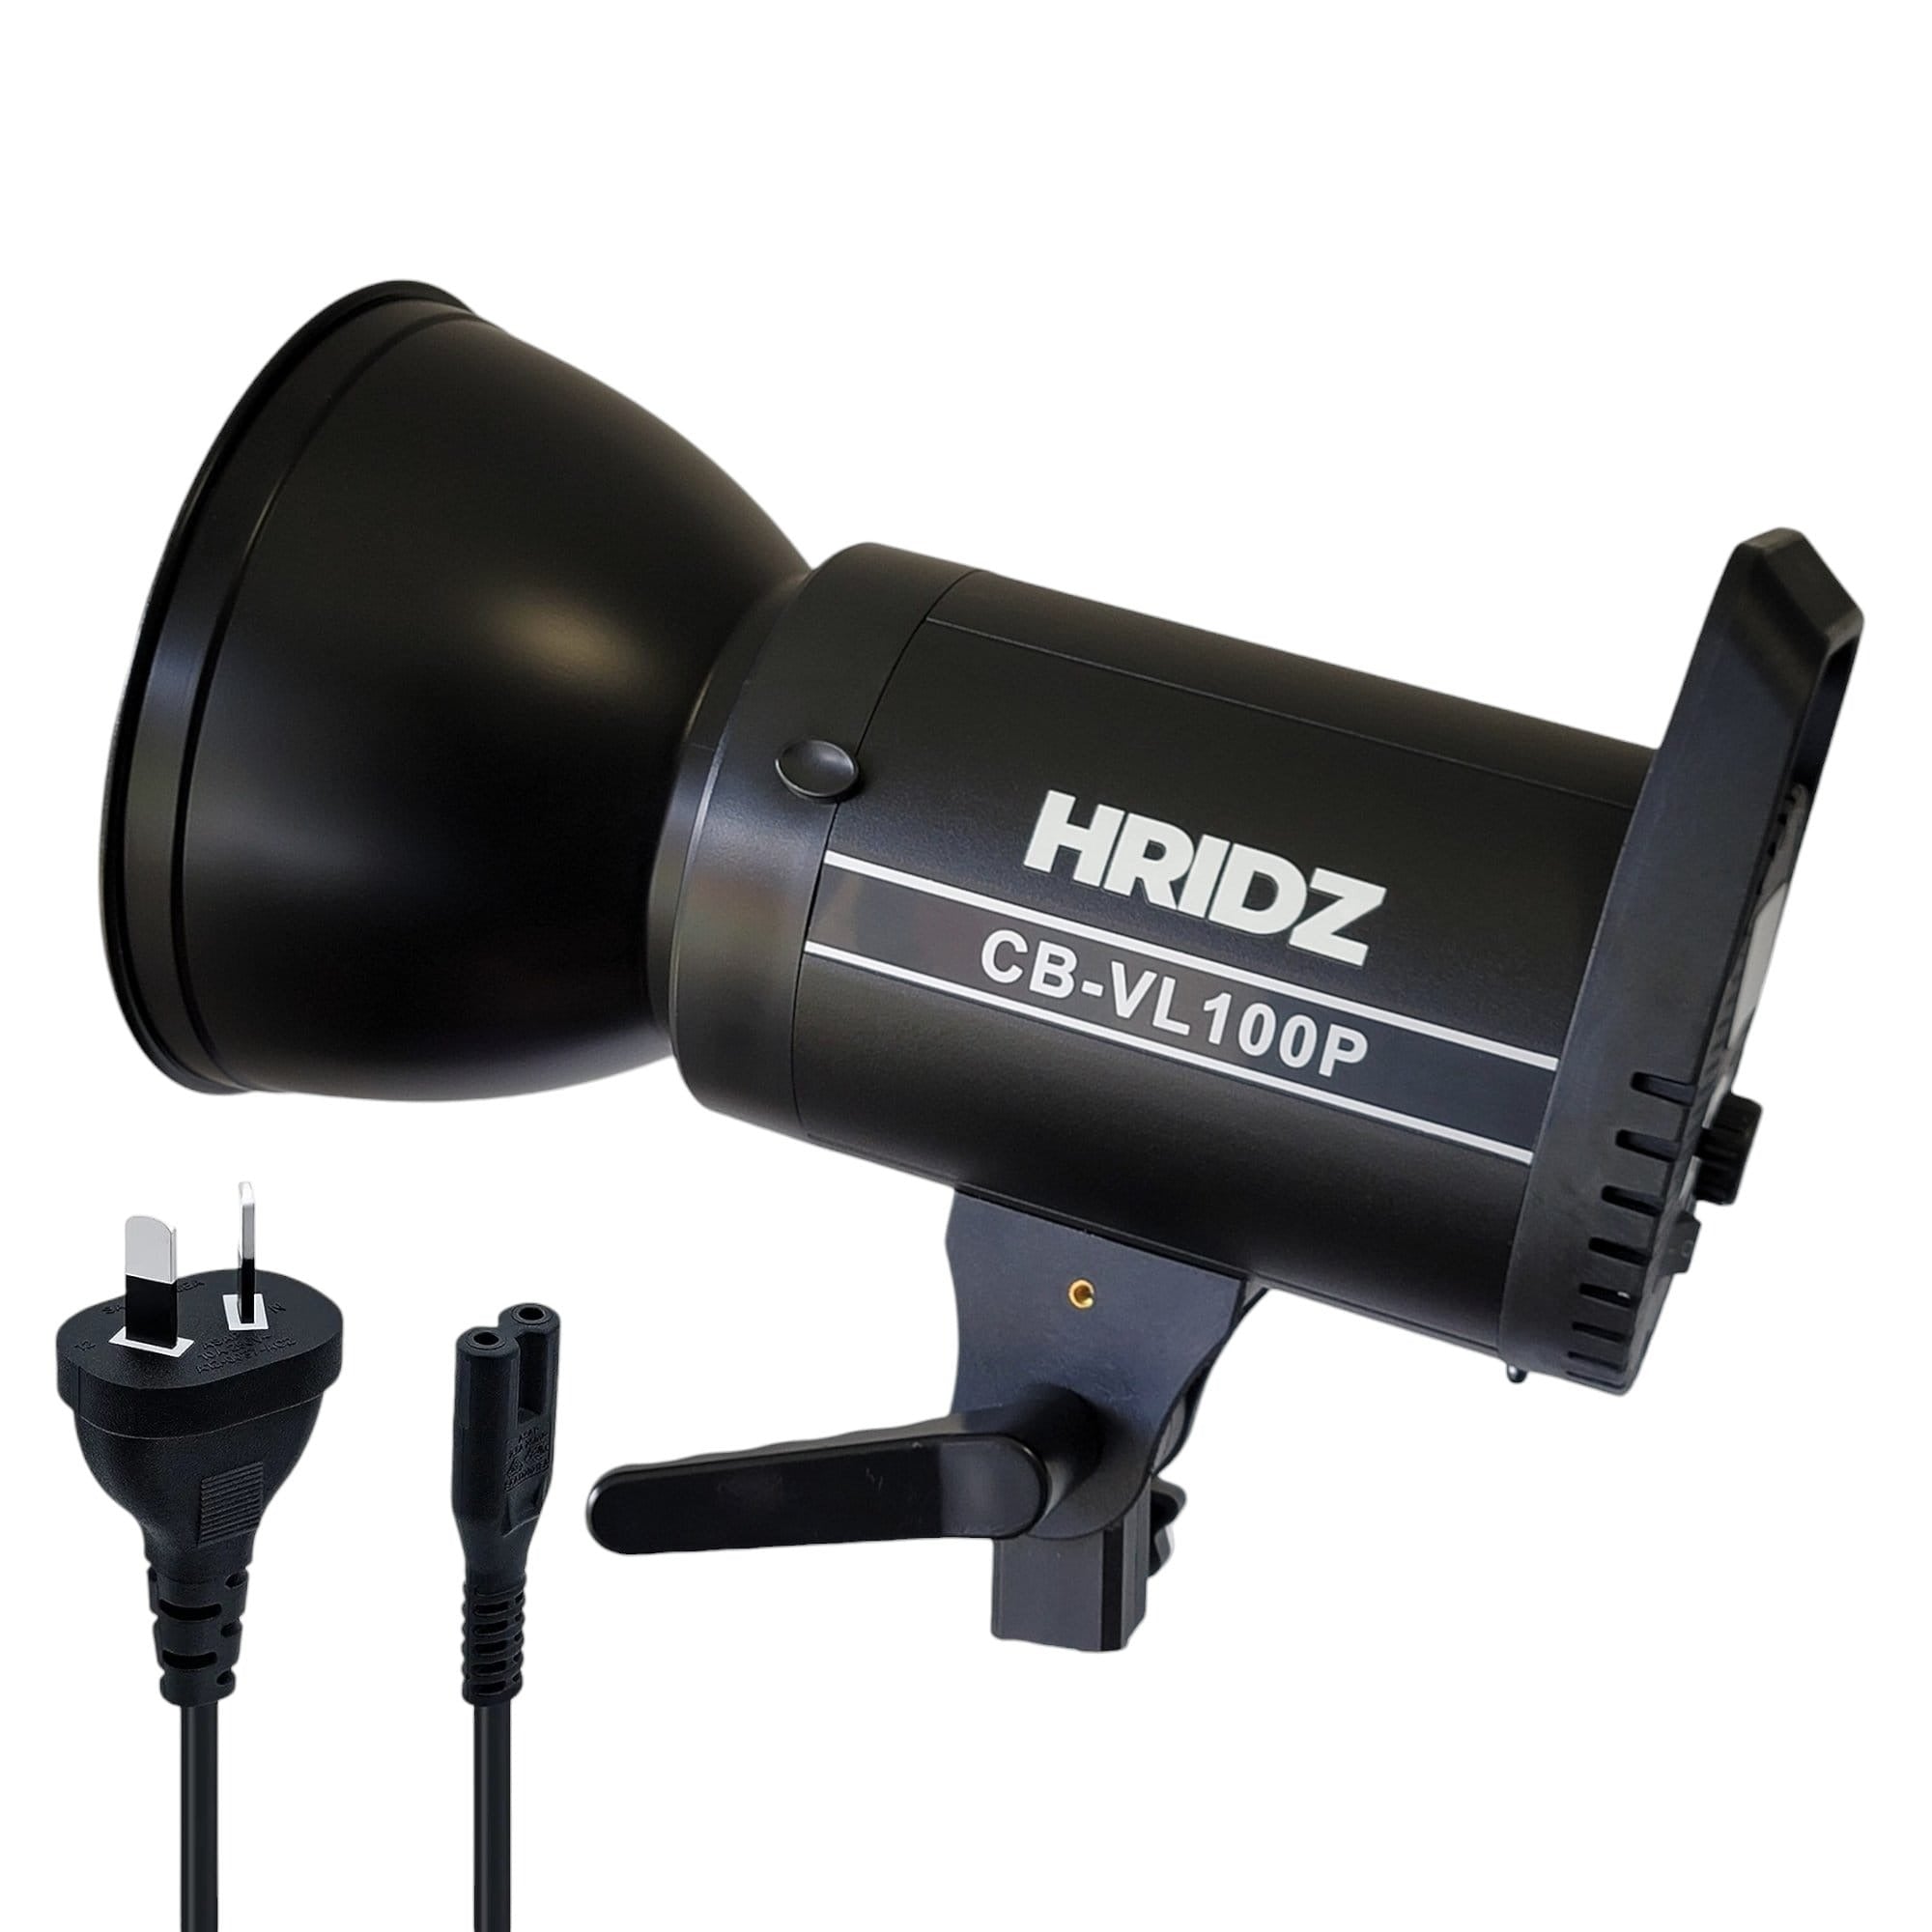
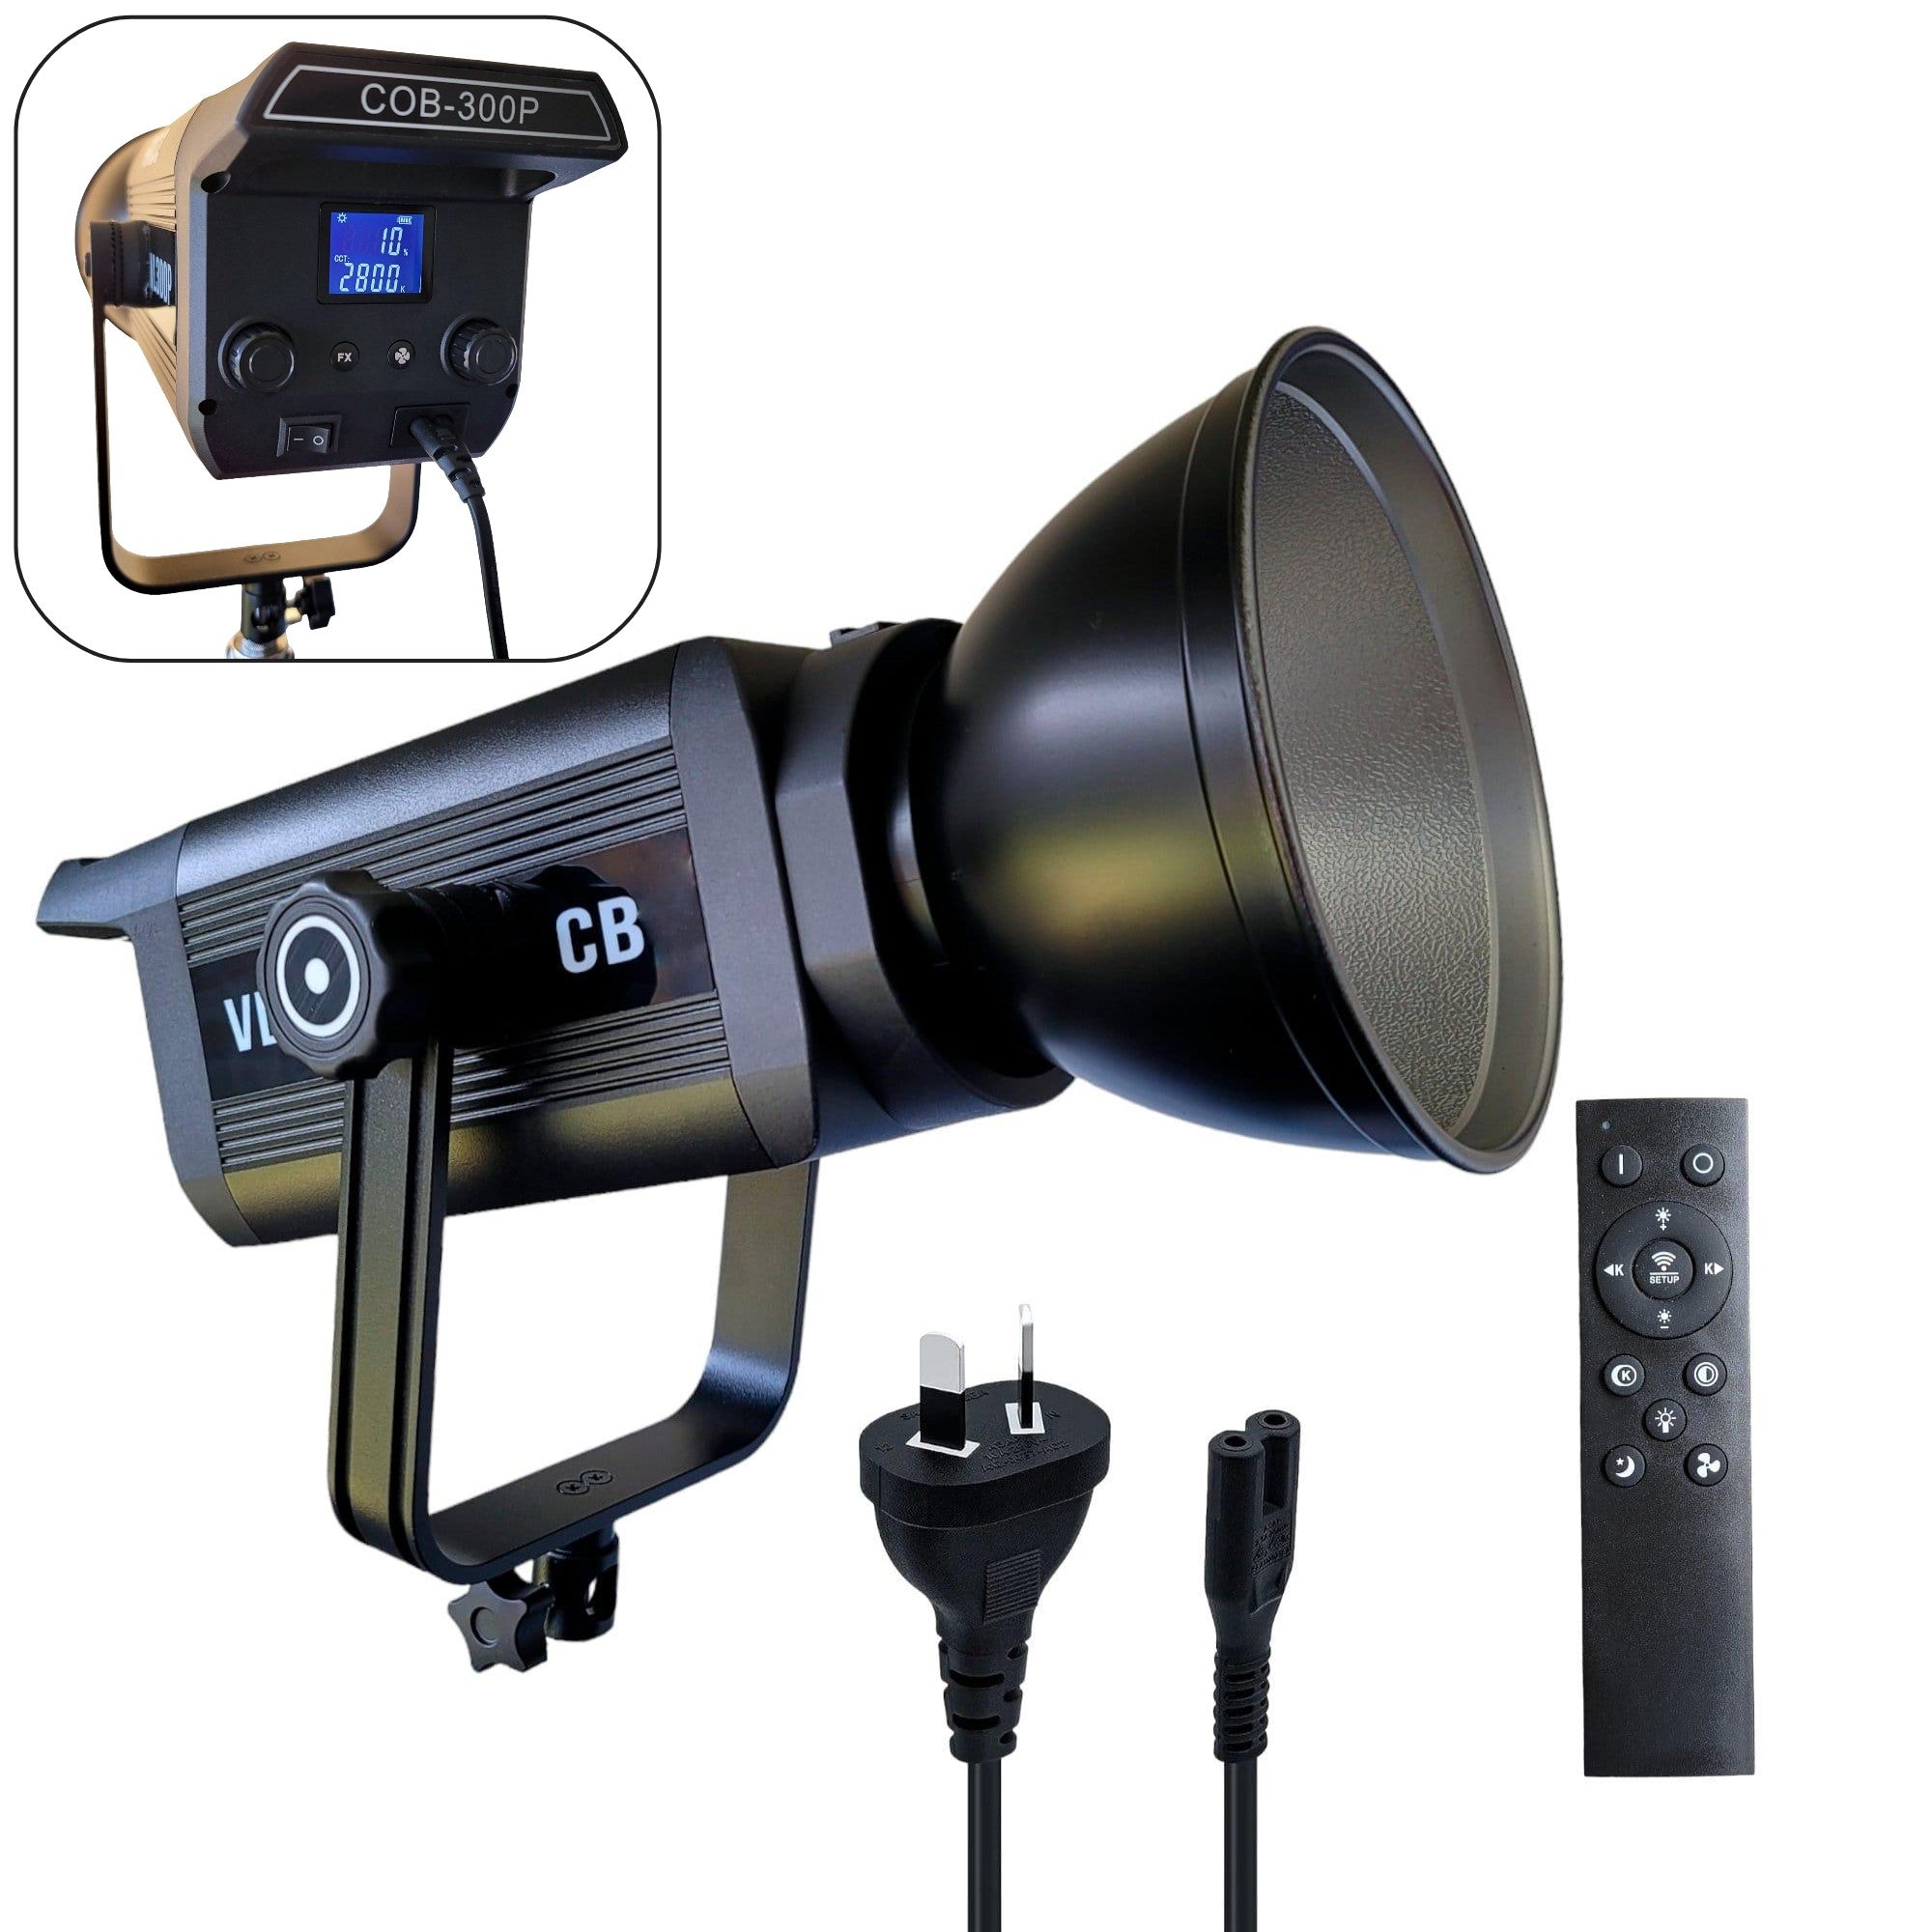
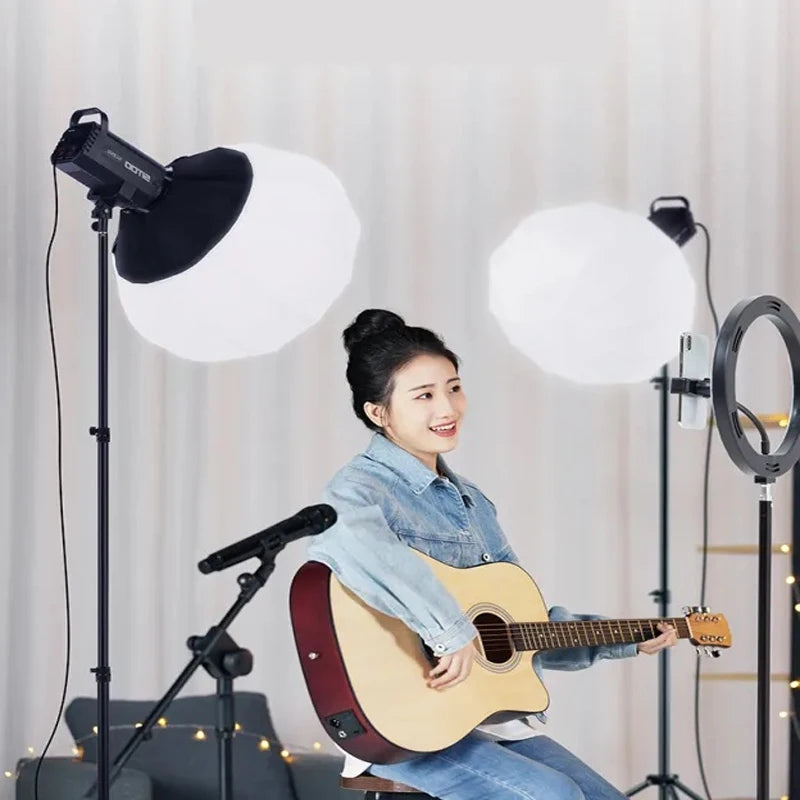
Continuous lights remain constantly active, allowing real-time visualization of lighting effects. LED panels and video lights offer this advantage, making them beginner-friendly and suitable for both photography and videography. Modern LED technology provides adjustable color temperature and intensity, with some models offering bi-color functionality spanning 3200K to 5600K.
Flash or strobe systems deliver powerful bursts of light, freezing motion and overpowering ambient illumination. Their recycle times and modeling lamps require more technical understanding, but they offer superior power output and longer operational lifespans compared to continuous alternatives.
Light Modification Tools
Raw artificial light sources produce harsh, unflattering illumination requiring modification for professional results. Softboxes diffuse light through translucent fabric panels, creating soft, wraparound illumination ideal for portraits and product photography. Rectangular softboxes produce natural-looking catchlights in eyes, while octagonal variants create rounder reflections.
Umbrellas offer economical light spreading, available in shoot-through or reflective configurations. Shoot-through umbrellas function similarly to softboxes with slightly less control, while reflective umbrellas bounce light back toward subjects with increased efficiency.
Grids, snoots, and barn doors restrict light spread, creating focused beams that highlight specific areas or separate subjects from backgrounds. Beauty dishes produce a distinctive quality between hard and soft light, favored in fashion and beauty photography for their flattering yet defined illumination.
Multi-Light Setups and Ratios
Professional lighting frequently employs multiple sources working in concert. The key light serves as the primary illumination source, establishing the dominant lighting pattern. Fill lights reduce shadow density without eliminating them entirely, maintaining dimensionality while controlling contrast.
Rim or hair lights positioned behind subjects create separation from backgrounds, adding three-dimensionality to two-dimensional captures. Background lights independently illuminate backdrops, preventing subjects from merging visually with their surroundings.
Lighting ratios quantify the relationship between key and fill illumination. A 2:1 ratio produces gentle contrast suitable for most applications, while 4:1 or higher creates dramatic, moody atmospheres. Measuring these ratios requires light meters or histogram analysis to ensure intentional rather than accidental results.
Essential Equipment Considerations
Building a versatile lighting kit requires strategic investment in foundational gear. Light stands provide stability and height adjustment, with heavier-duty options necessary for larger modifiers. C-stands offer superior stability and boom arm capabilities for overhead positioning.
Quality light modifiers transform mediocre light sources into professional-grade illumination tools. Investing in well-constructed softboxes and reflectors yields better results than accumulating numerous low-quality lights.
Backdrops establish controlled environments, with seamless paper, muslin fabric, and collapsible options each offering distinct advantages. Neutral gray backdrops facilitate color accuracy, while pure white and black provide versatile foundations for various creative approaches.
Battery-powered lights enable location work independent of mains electricity, essential for outdoor portraiture or event coverage. Modern lithium battery technology delivers extended runtime with rapid recharge capabilities.
Practical Lighting Scenarios
Portrait Illumination Strategies
Classic portrait lighting patterns—Rembrandt, loop, split, and butterfly—each create distinctive moods and facial sculpting. Rembrandt lighting positions the key light forty-five degrees laterally and elevated, creating a characteristic triangle of light on the shadow-side cheek. Loop lighting places the key light slightly lower, casting a small nose shadow toward the corner of the mouth.
Split lighting divides the face into equal illuminated and shadowed halves, producing dramatic, masculine aesthetics. Butterfly lighting positions the key light directly in front and above, creating a butterfly-shaped shadow beneath the nose, traditionally associated with glamour photography.
Product Photography Lighting
Product captures require even, shadow-free illumination that accurately renders colors and textures. Tent lighting surrounds items with translucent material illuminated from multiple angles, eliminating reflections and harsh shadows. This approach suits reflective surfaces like jewelry and glassware.
Alternatively, controlled directional lighting emphasizes texture and form through strategic shadow placement. Side lighting reveals surface details in fabrics and materials, while graduated lighting creates dimensional falloff that adds visual interest.
Common Lighting Challenges and Solutions
| Challenge | Solution |
|---|---|
| Mixed color temperatures | Gel lights to match ambient sources or correct in post-processing using selective white balance |
| Harsh shadows | Increase light source size relative to subject or introduce fill illumination |
| Unwanted reflections | Polarizing filters or adjust light angles to redirect specular highlights |
| Insufficient power | Increase ISO, widen aperture, or add supplementary light sources |
Developing Your Lighting Intuition
Technical knowledge provides the foundation, but artistic vision separates competent photographers from exceptional ones. Study how master painters like Rembrandt and Caravaggio employed chiaroscuro—the dramatic interplay between light and dark. Observe how cinematographers craft mood through illumination in films.
Practice deliberately modifying single variables while keeping others constant. Photograph the same subject with hard versus soft light, or experiment with different color temperatures. This systematic approach builds intuitive understanding of how modifications affect outcomes.
Analyze successful images from photographers you admire, deconstructing their lighting setups. Where was the key light positioned? How many sources were employed? What modifiers created that particular quality? Reverse-engineering compelling work accelerates your learning trajectory.
Frequently Asked Questions
What lighting equipment should beginners prioritize?
Start with a single versatile continuous LED light, a basic softbox, and a collapsible reflector. This minimal kit enables exploration of fundamental concepts without overwhelming complexity or financial commitment. As skills develop, expand your arsenal based on specific photographic interests and identified limitations.
How does aperture affect lighting in photography?
Aperture controls light volume reaching the sensor, directly impacting exposure. Wider apertures (lower f-numbers) permit more illumination, enabling faster shutter speeds or lower ISO values. However, aperture also affects depth of field, requiring balanced consideration between exposure needs and desired focus range. Flash photography particularly demonstrates this relationship, as aperture primarily controls flash exposure while shutter speed governs ambient light contribution.
Can smartphone photographers benefit from external lighting?
Absolutely. Compact LED panels designed for mobile devices dramatically improve image quality compared to built-in flash units. Positioning external lights at angles rather than camera-mounted placement creates dimensionality impossible with on-axis illumination. Small reflectors and diffusers further enhance mobile photography capabilities, proving that understanding lighting principles transcends equipment sophistication.
Advancing Beyond Basics
Once foundational concepts become second nature, explore advanced techniques like high-speed sync flash, light painting, and stroboscopic effects. Experiment with colored gels to create mood or correct color casts. Investigate inverse square law implications for controlling background brightness independently from subject illumination.
Consider specialized applications like macro photography's unique lighting demands, where ring lights and dual off-camera flashes overcome close-focusing challenges. Architectural photography requires balancing ambient window light with interior artificial sources, often employing HDR techniques or flash exposure blending.
The journey toward lighting mastery remains perpetually unfinished. Each photographic scenario presents novel challenges requiring creative problem-solving and technical adaptability. Embrace experimentation, accept failures as learning opportunities, and continuously refine your ability to see and shape light.
Your evolution as a photographer correlates directly with your understanding of illumination. Whether capturing fleeting moments with available light or meticulously constructing elaborate multi-light setups, the principles remain constant. Master these photography lighting basics, and watch your imagery transform from documentary records into compelling visual stories that resonate with viewers.


Share:
Heavy Duty Light Stands: Why Stainless Steel Wins Every Time