

- Understanding the Quality of Light
- The Three-Point Lighting System
- Positioning Your Key Light
- Balancing with Fill Light
- Separating Subjects with Backlighting
- Harnessing Natural Window Light
- Mastering Off-Camera Flash Techniques
- Creating Mood with Color Temperature
- Utilizing Reflectors and Diffusers
- Controlling Ambient Light Contamination
- Practical Equipment Considerations
- How Do Different Backdrops Affect Lighting Requirements?
- Common Lighting Mistakes to Avoid
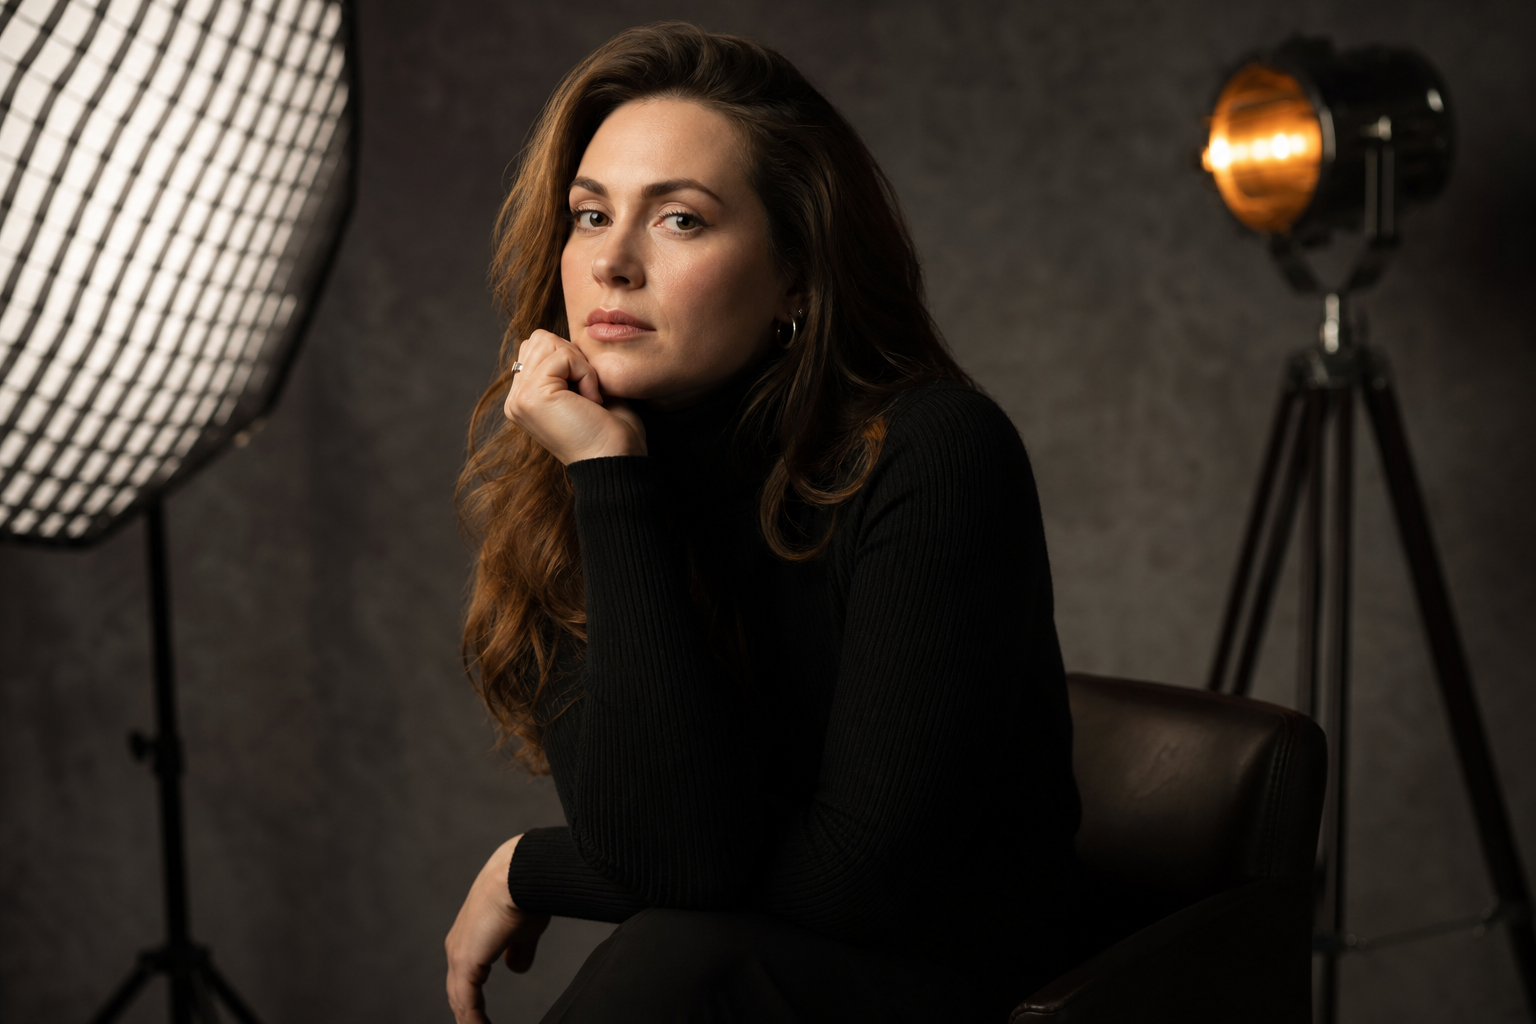
Mastering the art of illumination transforms ordinary photographs into extraordinary visual narratives. Whether you're capturing portraits, products, or landscapes, understanding how light interacts with your subjects separates amateur snapshots from professional-grade imagery. The right luminous approach can sculpt dimensions, evoke emotions, and breathe life into static frames.
Photography equipment has evolved tremendously, making professional-quality illumination accessible to creators at every level. From portable LED panels to sophisticated softbox configurations, modern gear empowers photographers and videographers to manipulate light with surgical precision. This comprehensive guide explores seven battle-tested techniques that professionals rely on to create visually arresting compositions.
Understanding the Quality of Light
Light quality fundamentally determines the aesthetic character of your photographs. Hard light creates pronounced shadows with sharp demarcation lines, producing dramatic contrast and emphasizing textures. Conversely, soft light generates gentle gradations between highlights and shadows, flattering for portraiture and minimizing imperfections.
The size of your light source relative to your subject dictates hardness or softness. A small, distant luminaire produces hard light, while larger sources positioned closer yield softer illumination. This principle explains why overcast skies create beautifully diffused natural light—the entire cloud layer becomes an enormous softbox.
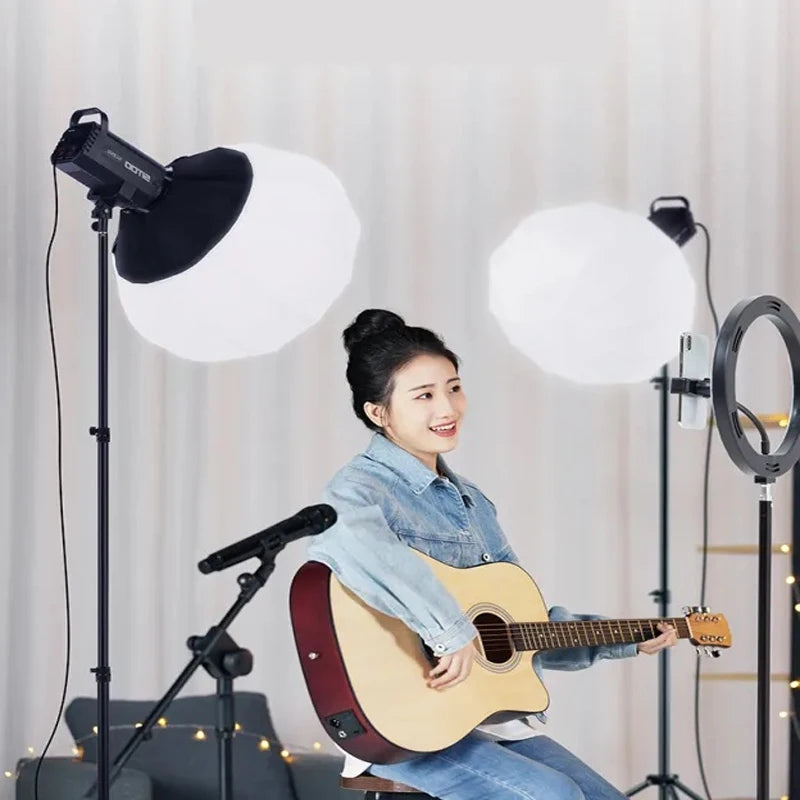
Modifying light quality requires strategic equipment choices. Softboxes, umbrellas, and diffusion panels transform harsh point sources into broad, gentle illumination. These modifiers prove indispensable for photographers seeking to control mood and atmosphere. When selecting video lights or continuous lighting systems, consider how easily they accept diffusion attachments to maximize creative flexibility.
The Three-Point Lighting System
This foundational photography lighting tip has dominated studio work for decades because it delivers consistently flattering results. The system employs three distinct light sources—key, fill, and back—each serving specific purposes within the composition.
Positioning Your Key Light
The key light serves as your primary illumination source, establishing the dominant shadows and highlights. Position it approximately 45 degrees to the side of your subject and slightly elevated. This angle creates dimensional modeling across facial features or product contours, preventing the flat appearance that frontal lighting produces.
Intensity matters tremendously. Your key light should overpower other sources, typically two to three times brighter than your fill light. This differential creates the tonal separation that gives images depth and visual interest.
Balancing with Fill Light
Fill light reduces shadow density without eliminating them entirely. Position this secondary source opposite your key light, maintaining lower intensity to preserve dimensional modeling. The fill-to-key ratio determines contrast levels—higher ratios produce dramatic imagery, while lower ratios yield gentler tonality.
Reflectors offer an economical alternative to additional light fixtures. White or silver reflective surfaces bounce key light into shadow areas, providing natural-looking fill without additional power consumption or equipment investment.
Separating Subjects with Backlighting
Back lights create separation between subjects and backgrounds, adding professional polish to your compositions. Position this luminaire behind your subject, angled toward the camera but flagged to prevent lens flare. The resulting rim light outlines contours, creating three-dimensional pop that elevates production value.
Harnessing Natural Window Light
Windows provide photographers with magnificent, cost-free illumination that rivals expensive studio equipment. North-facing windows in the northern hemisphere deliver consistent, soft light throughout the day, ideal for portraits and product photography. The expansive light source creates gentle shadows and beautiful catchlights in subjects' eyes.
Time of day dramatically affects window light characteristics. Morning and late afternoon provide warmer color temperatures with directional qualities, while midday offers cooler, more overhead illumination. Understanding these variations allows you to schedule sessions for desired aesthetic outcomes.
Modifying window light expands creative possibilities. Sheer curtains diffuse harsh direct sunlight, while blackout materials provide control over light direction. Reflectors positioned opposite windows fill shadows effectively, mimicking the three-point setup using primarily natural sources. This approach proves particularly valuable for videographers seeking authentic, natural-looking footage without extensive lighting rigs.
Mastering Off-Camera Flash Techniques
Liberating your flash from the camera's hot shoe unlocks transformative creative potential. On-camera flash typically produces unflattering, flat illumination with harsh shadows directly behind subjects. Off-camera positioning allows you to create directional light with depth and dimension.
Wireless triggers enable flash placement anywhere within range, typically 30-100 feet depending on system specifications. Position strobes at angles mimicking natural light patterns—overhead for simulated sunlight, or to the side for window-light aesthetics. Light stands provide stable positioning at various heights and distances.
Flash modifiers dramatically enhance output quality. Softboxes designed for speedlights create beautifully diffused illumination comparable to studio strobes. Umbrellas offer quick setup and teardown, perfect for location work. Small catchlight modifiers add essential eye sparkle without overwhelming subjects with broad illumination.
The difference between good lighting and great lighting often comes down to subtle adjustments—a slight repositioning, a minor intensity change, or the addition of a simple reflector can transform acceptable images into portfolio-worthy masterpieces.
Creating Mood with Color Temperature
Color temperature, measured in Kelvin, profoundly impacts emotional resonance. Warm tones (2700-3200K) evoke intimacy, comfort, and nostalgia, while cool temperatures (5000-6500K) suggest professionalism, cleanliness, or melancholy. Strategic color temperature choices align visual aesthetics with narrative intentions.
Mixing color temperatures creates visual interest and guides viewer attention. A warm key light combined with cool background illumination separates subjects dimensionally while establishing atmospheric depth. This technique proves particularly effective in commercial and editorial photography.
Gel filters provide inexpensive color temperature modification. Orange CTO (color temperature orange) gels warm LED lights or strobes, while blue CTB (color temperature blue) gels cool sources. Creative colored gels add theatrical drama or match practical light sources within scenes for cohesive color palettes.
| Color Temperature | Kelvin Range | Best Applications |
|---|---|---|
| Warm/Tungsten | 2700-3200K | Portraits, intimate settings, golden hour simulation |
| Neutral/Daylight | 5000-5600K | Product photography, natural-looking videos, commercial work |
| Cool/Overcast | 6000-7000K | Corporate settings, modern aesthetics, dramatic moods |
Utilizing Reflectors and Diffusers
These passive modifiers offer remarkable versatility without requiring power sources or complex setups. Reflectors redirect existing light—natural or artificial—into shadow areas, reducing contrast and revealing detail. Available in various surface treatments, each produces distinct qualities.
Silver reflectors maximize light output with slightly cool tonality, ideal for adding punch without significant equipment investment. Gold surfaces create warm, sunset-like fill particularly flattering for skin tones. White reflectors provide subtle, natural-looking fill, while black surfaces actually subtract light, deepening shadows for dramatic effect.
Diffusion panels soften harsh light sources by spreading illumination across broader areas. Position these translucent scrims between light sources and subjects to transform small, hard lights into larger, softer sources. This technique proves invaluable when working outdoors in harsh midday sun, effectively creating portable cloud cover.
Collapsible reflectors and diffusers pack efficiently for location work, essential for photographers and videographers working beyond studio confines. Five-in-one kits combining multiple surface options in single frames maximize versatility while minimizing gear volume.
Controlling Ambient Light Contamination
Environmental light often competes with intentional illumination, degrading contrast and color accuracy. Successful photography lighting tips emphasize controlling ambient sources to maintain artistic vision. Identifying and managing these unintended light sources separates sophisticated work from amateur attempts.
Flags and gobos block unwanted light from hitting subjects or backgrounds. These opaque panels range from professional grip equipment to improvised solutions using foam core or cardboard. Strategic placement prevents light spill, preserving shadow integrity and tonal separation.
Shooting during optimal times minimizes ambient light management challenges. For outdoor work, the golden hour—shortly after sunrise or before sunset—provides directional, warm light with manageable intensity. Indoor environments benefit from scheduling when problematic window light can be controlled or utilized intentionally.
Exposure settings also control ambient light influence. Faster shutter speeds reduce ambient light contribution in flash photography, allowing your artificial sources to dominate. This technique proves particularly valuable when balancing subject exposure against bright backgrounds or when creating dramatic, underexposed environmental elements.
Practical Equipment Considerations
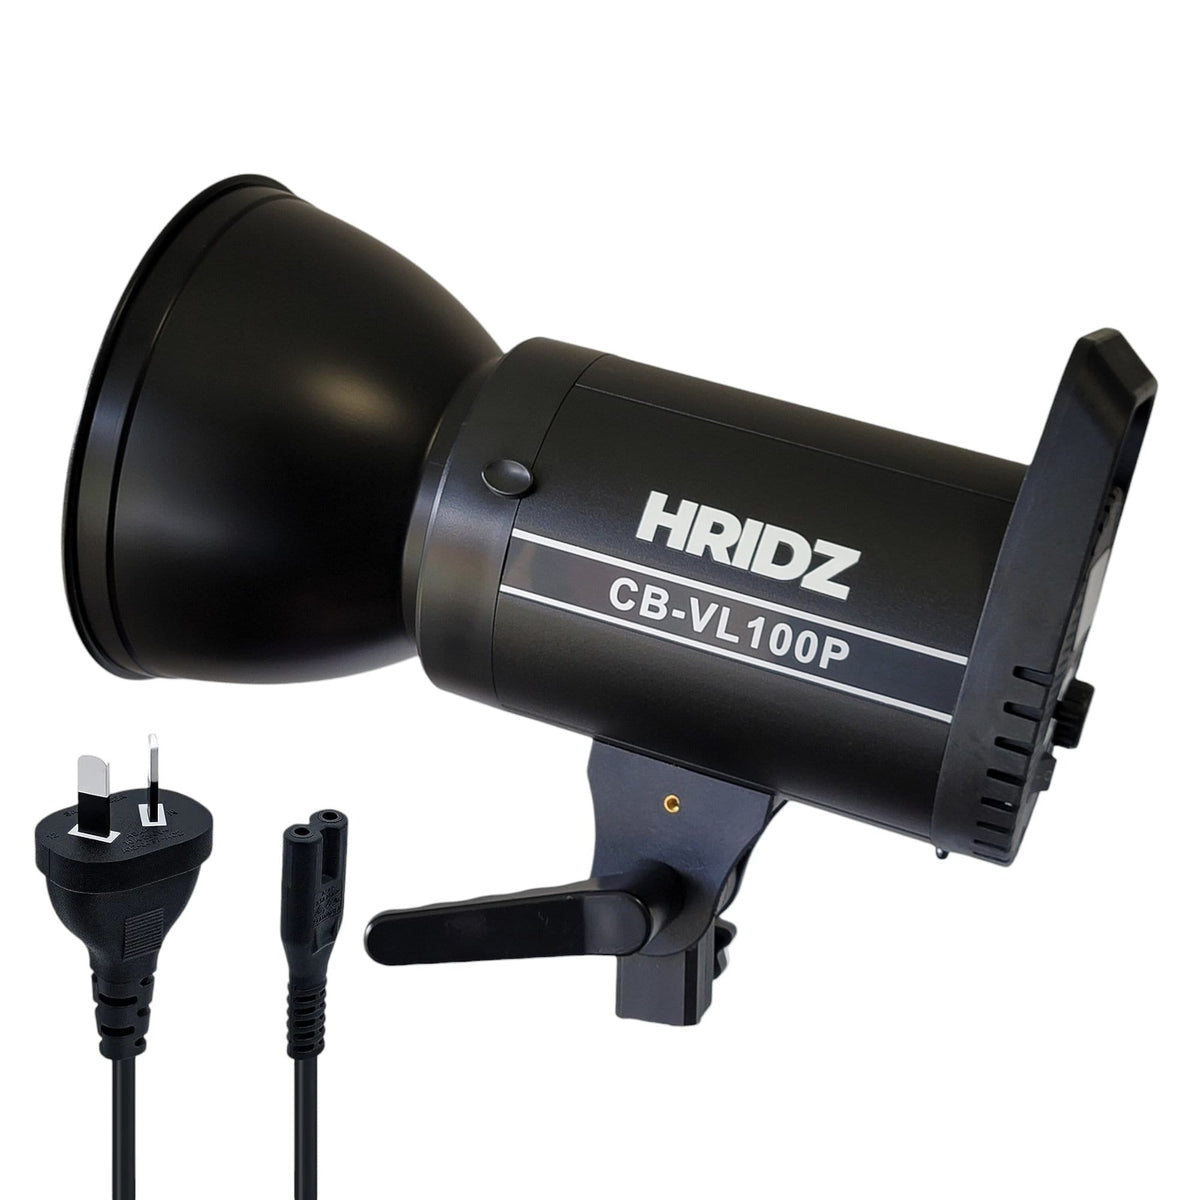
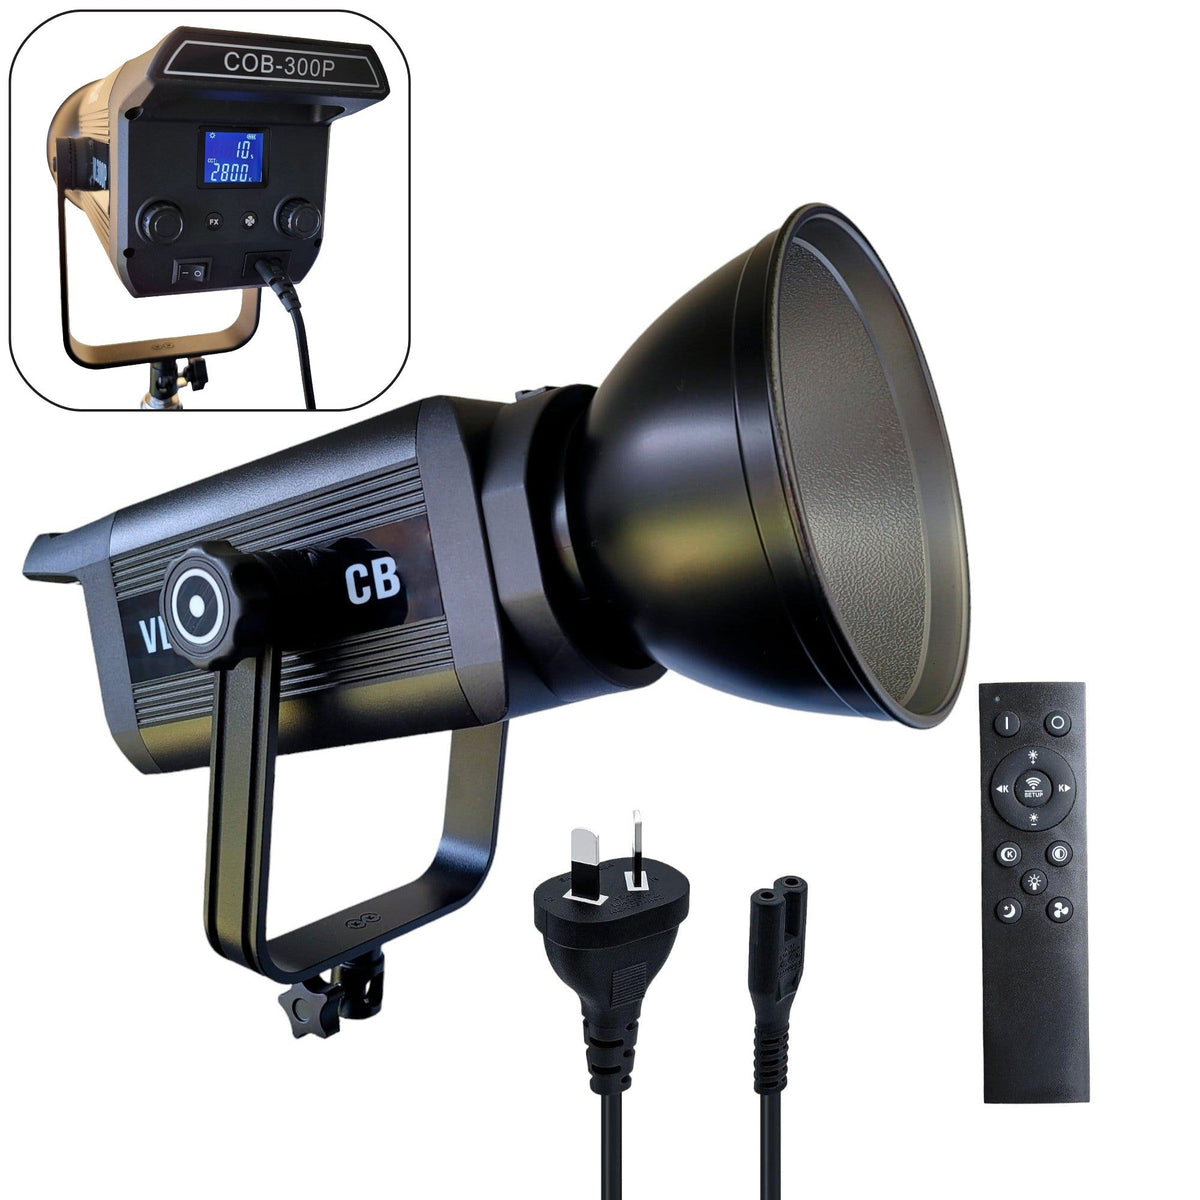
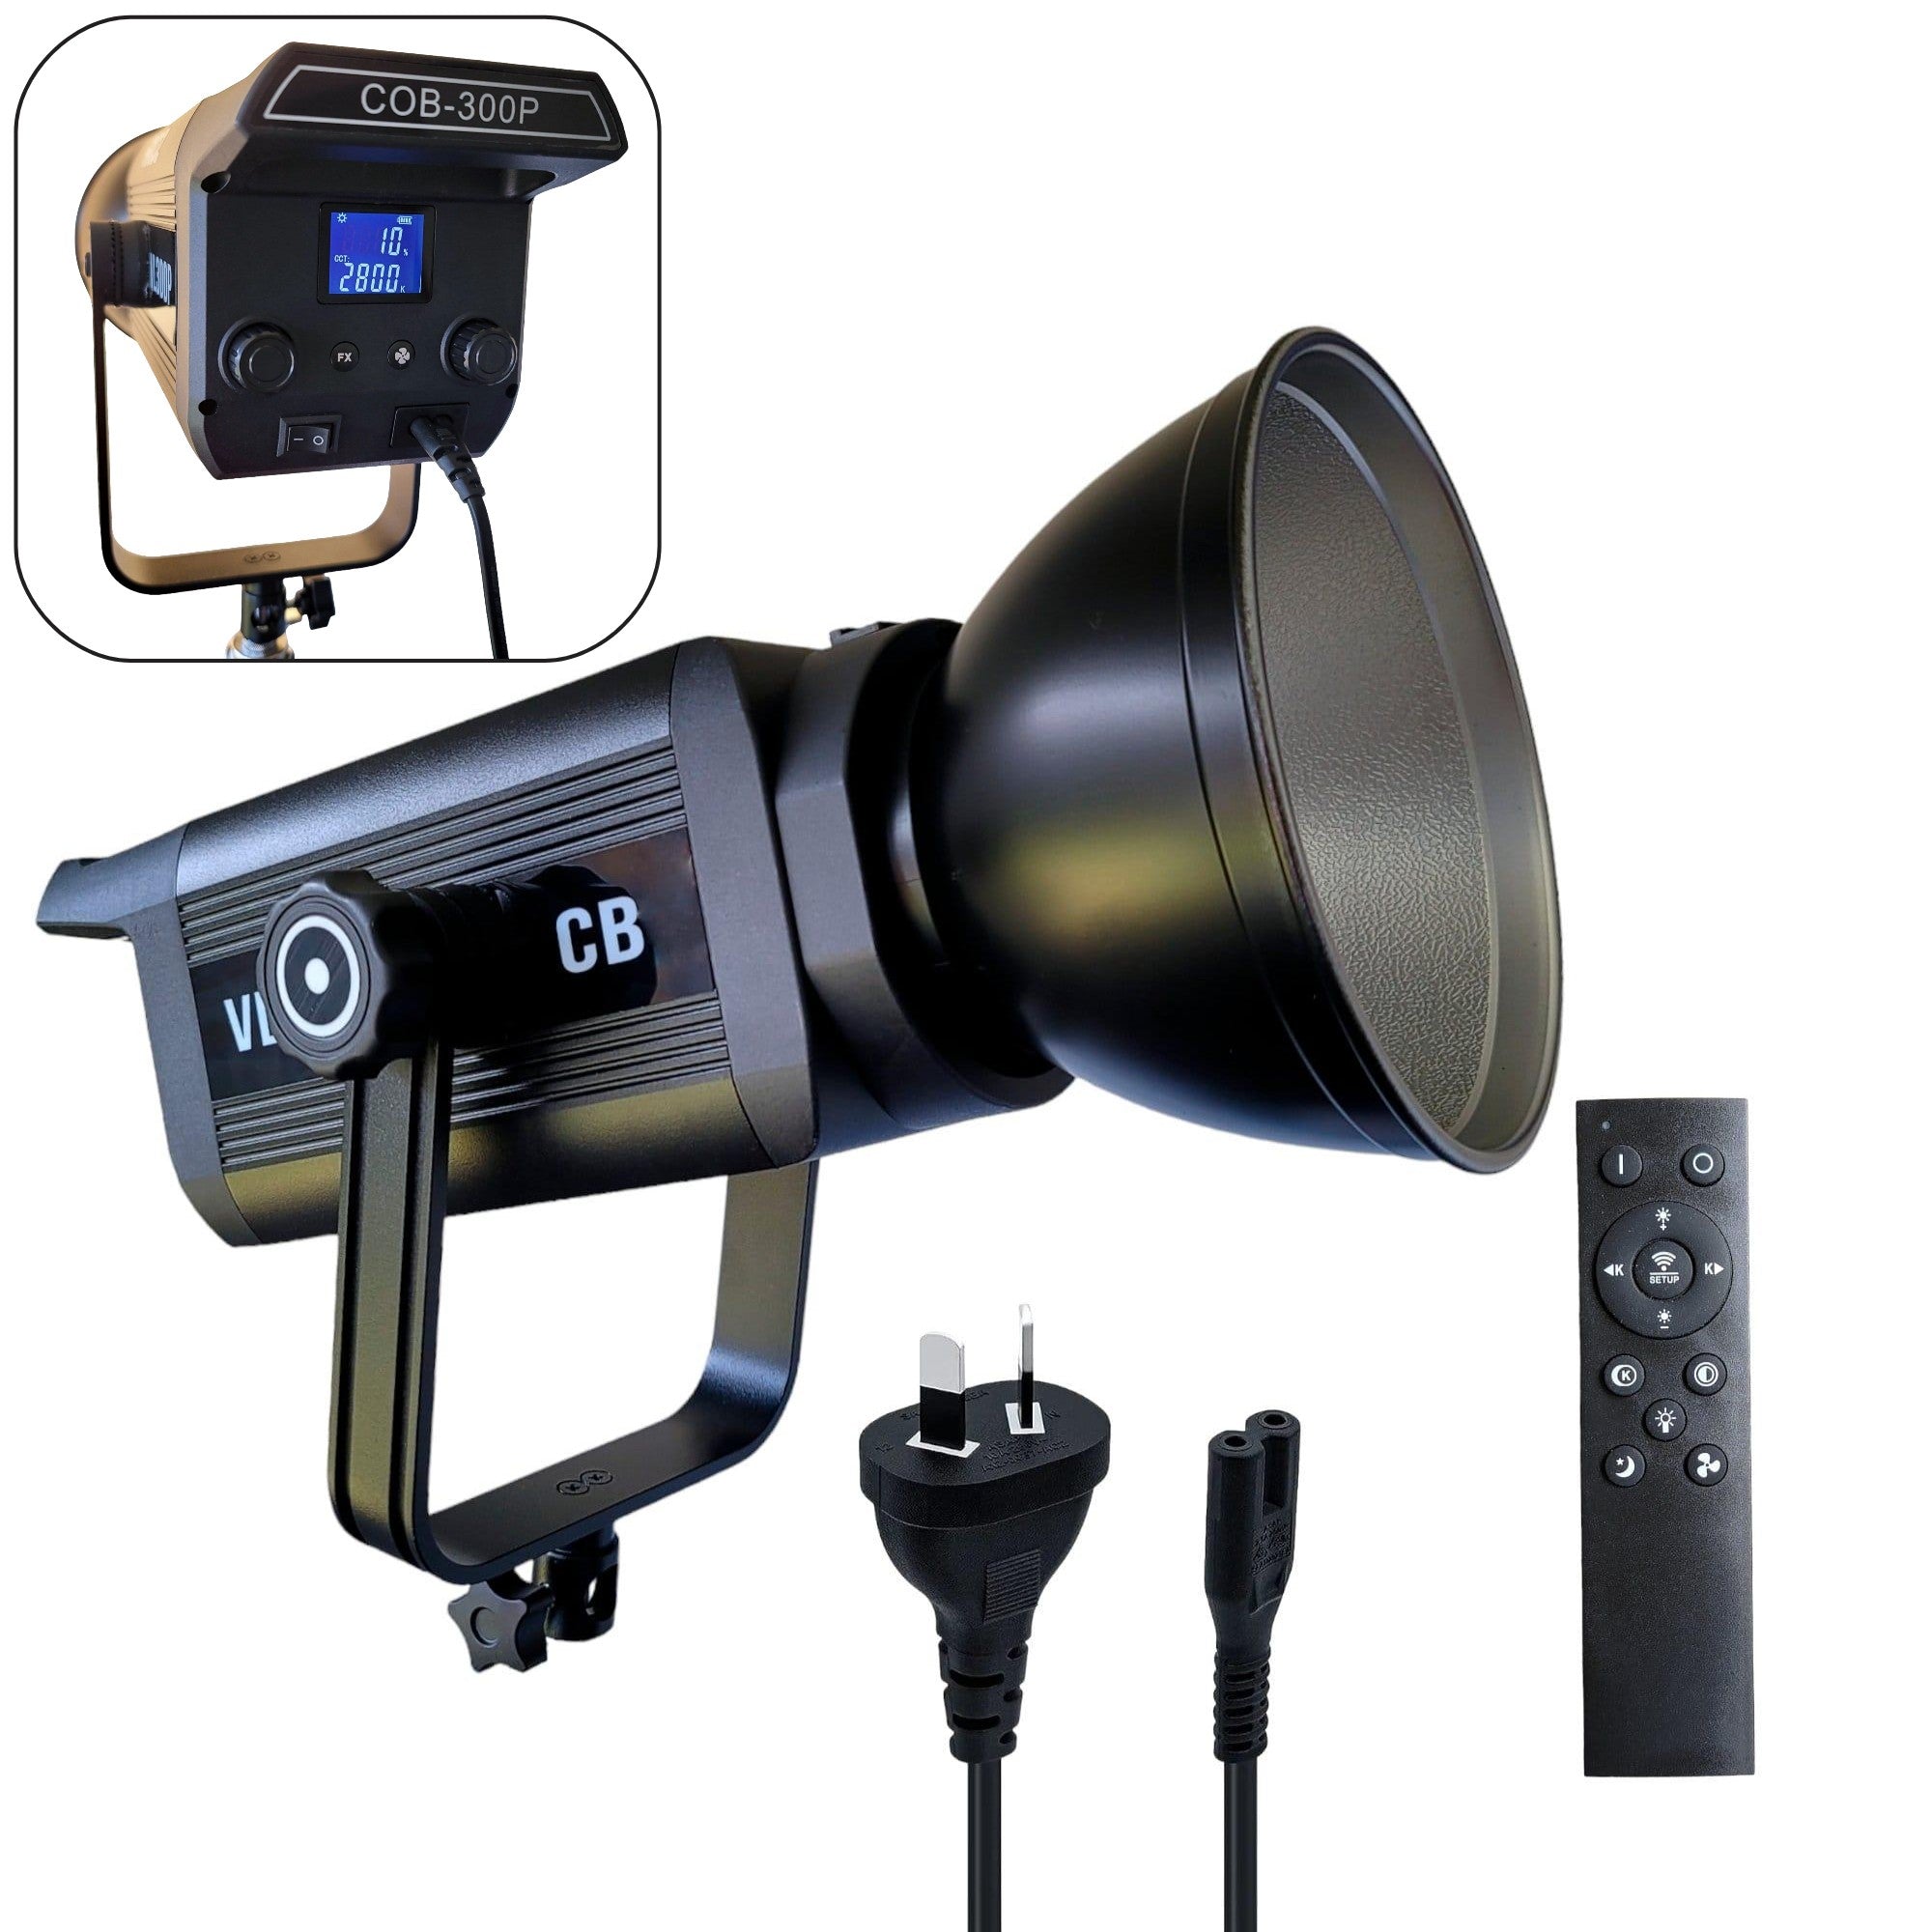
Building an effective lighting kit requires balancing quality, versatility, and budget constraints. Continuous lights benefit videographers who need constant illumination for monitoring exposure and focus, while also serving photographers seeking WYSIWYG (what you see is what you get) lighting previews. Modern LED panels offer excellent color accuracy, adjustable color temperature, and energy efficiency.
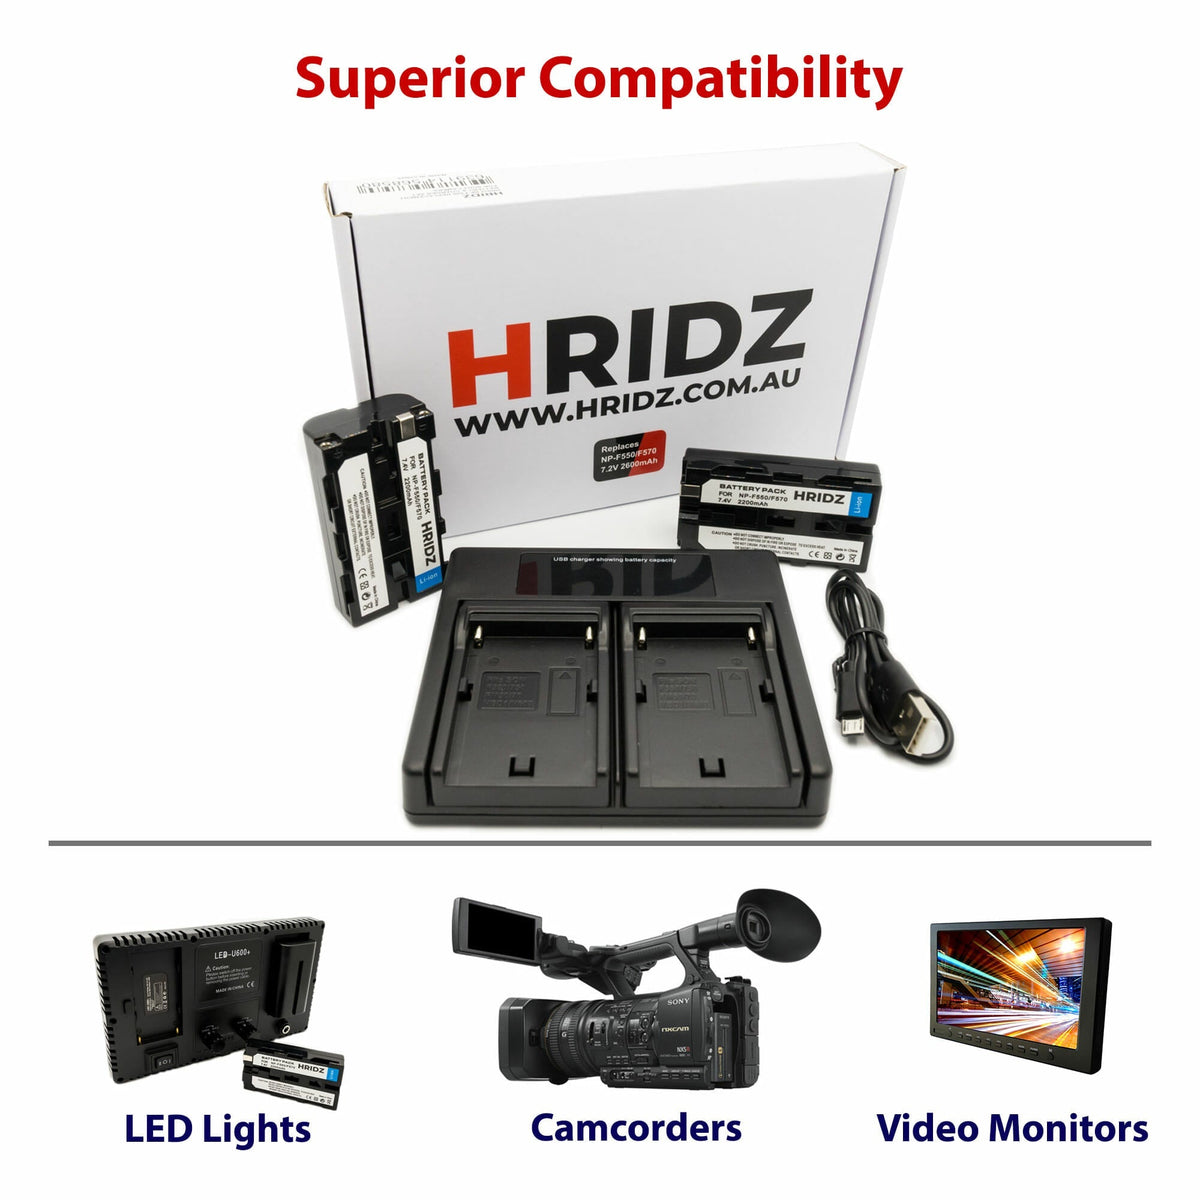
Battery-powered solutions liberate creators from wall outlets, essential for location work. Rechargeable camera batteries and portable power stations extend shooting duration without compromising light output. When selecting equipment, prioritize systems with standardized battery platforms for simplified inventory management.
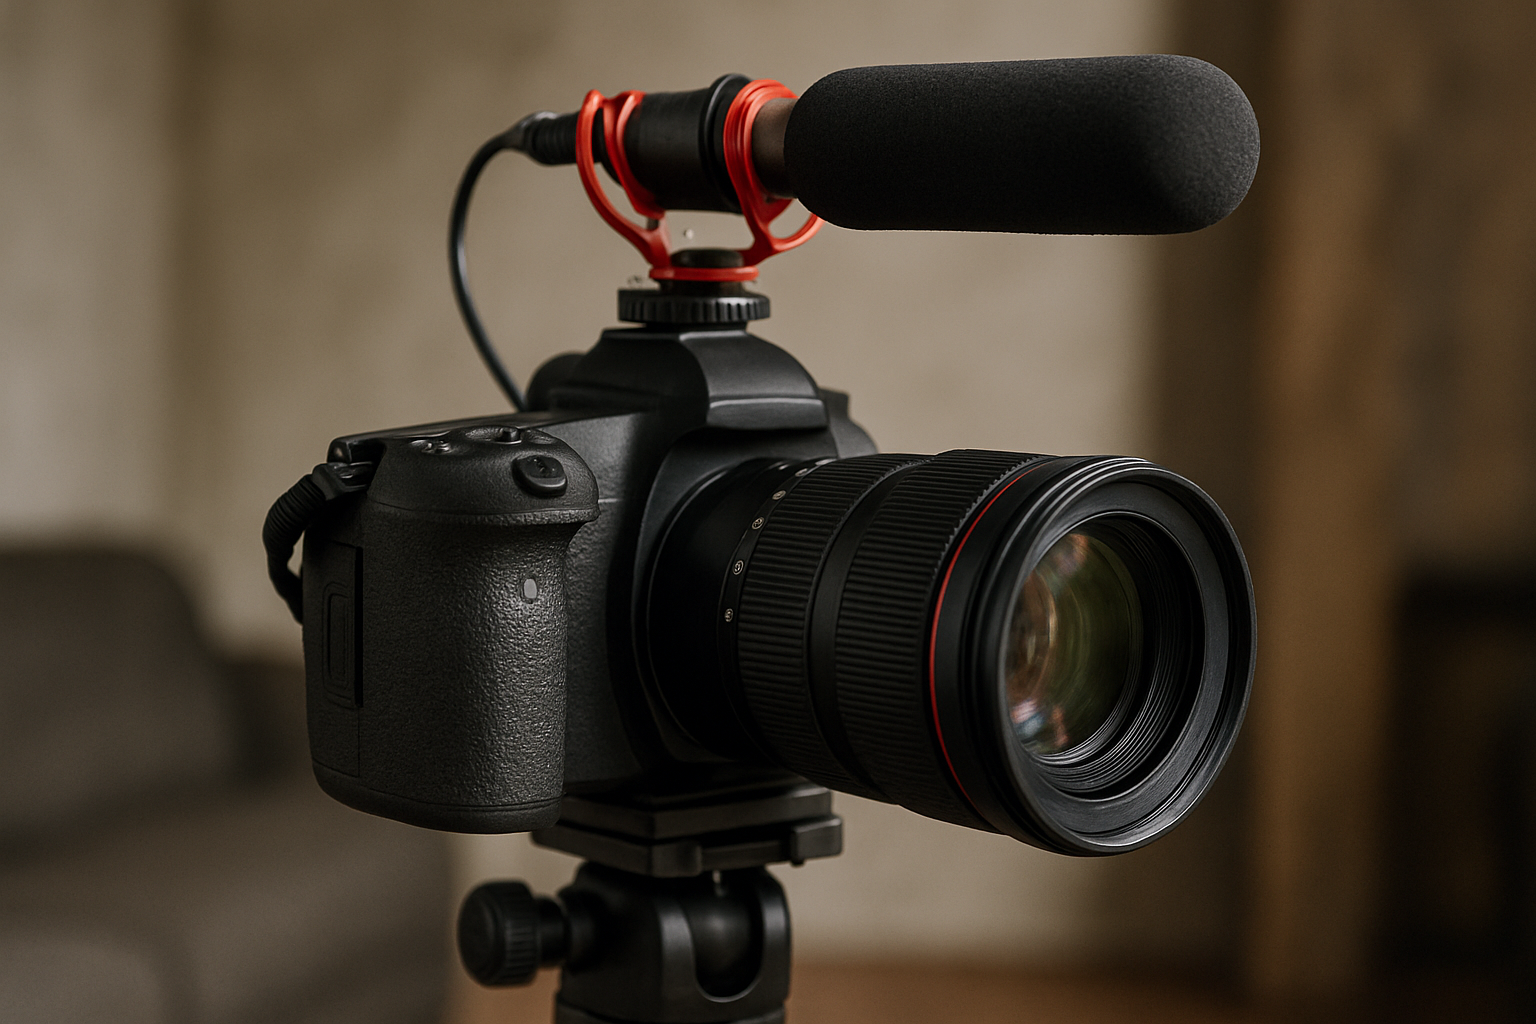
Support infrastructure matters as much as lights themselves. Quality light stands withstand repeated setup cycles and provide stable platforms for expensive gear. Sandbags prevent wind-related disasters during outdoor sessions. Camera microphones and phone microphones often require similar boom pole support considerations, making versatile stands valuable across multiple equipment categories.
For those establishing comprehensive studios or mobile production capabilities, modular systems offer growth potential. Starting with fundamental pieces—a versatile softbox, reliable light stand, and quality continuous light or flash—establishes foundations for expansion as skills and budgets develop.
How Do Different Backdrops Affect Lighting Requirements?
Background selection dramatically influences lighting strategies. Light-colored backdrops require less illumination to achieve proper exposure but may create unwanted reflections or color casts on subjects. Conversely, dark backgrounds absorb light, demanding additional output or wider apertures while creating natural separation and focus on subjects.
Seamless paper backdrops in neutral tones provide versatility for various lighting scenarios. White backgrounds can be rendered pure white through overexposure or maintained as light gray through controlled lighting. Black velvet absorbs light maximally, creating void-like backgrounds popular in product photography.
Textured or patterned backdrops require careful lighting to either emphasize or minimize surface characteristics. Grazing light positioned at acute angles accentuates texture, while frontal illumination flattens surfaces. Distance between subjects and backdrops also determines lighting complexity—greater separation allows independent exposure control.
Common Lighting Mistakes to Avoid
Even experienced photographers occasionally fall into predictable traps. Overlighting ranks among the most common errors, flooding scenes with excessive illumination that eliminates dimensional shadows. Remember that shadows define form—strategic darkness proves as important as highlights.
Ignoring color temperature consistency creates unnatural color casts and difficult post-processing challenges. When mixing light sources, ensure compatible color temperatures or deliberately contrast them for artistic effect rather than accidental mismatches.
- Positioning lights too close creates uneven exposure with hot spots and rapid falloff
- Neglecting catchlights in portrait subjects' eyes results in lifeless, disconnected gazes
- Forgetting to feather lights wastes output and creates harsh edges in illumination patterns
- Using inappropriate modifiers for desired effects limits creative outcomes
- Failing to test lighting setups before critical moments leads to preventable disappointments
Documentation proves invaluable for replicating successful setups. Photograph or diagram lighting configurations that produce desired results, noting equipment positions, power settings, and modifier choices. This reference library accelerates future sessions and facilitates troubleshooting when results don't match expectations.
Continuous learning through experimentation separates competent practitioners from exceptional artists. Challenge yourself to recreate lighting styles from admired photographs, analyze how light shapes your favorite films, or dedicate sessions to testing unfamiliar equipment and techniques. Photography and videography excellence emerges from accumulated knowledge applied through deliberate practice.
Investing in quality lighting equipment transforms creative capabilities, whether you're photographing products for commercial clients, capturing memorable portraits, or producing engaging video content. The right tools combined with mastered techniques empower visual storytelling that resonates with audiences and elevates professional standing within competitive markets.





Share:
Audio Cables Guide: Choosing the Right Cables for Your Setup
Audio Cables Guide: Choosing the Right Cables for Your Setup